Custom Services
Custom Services
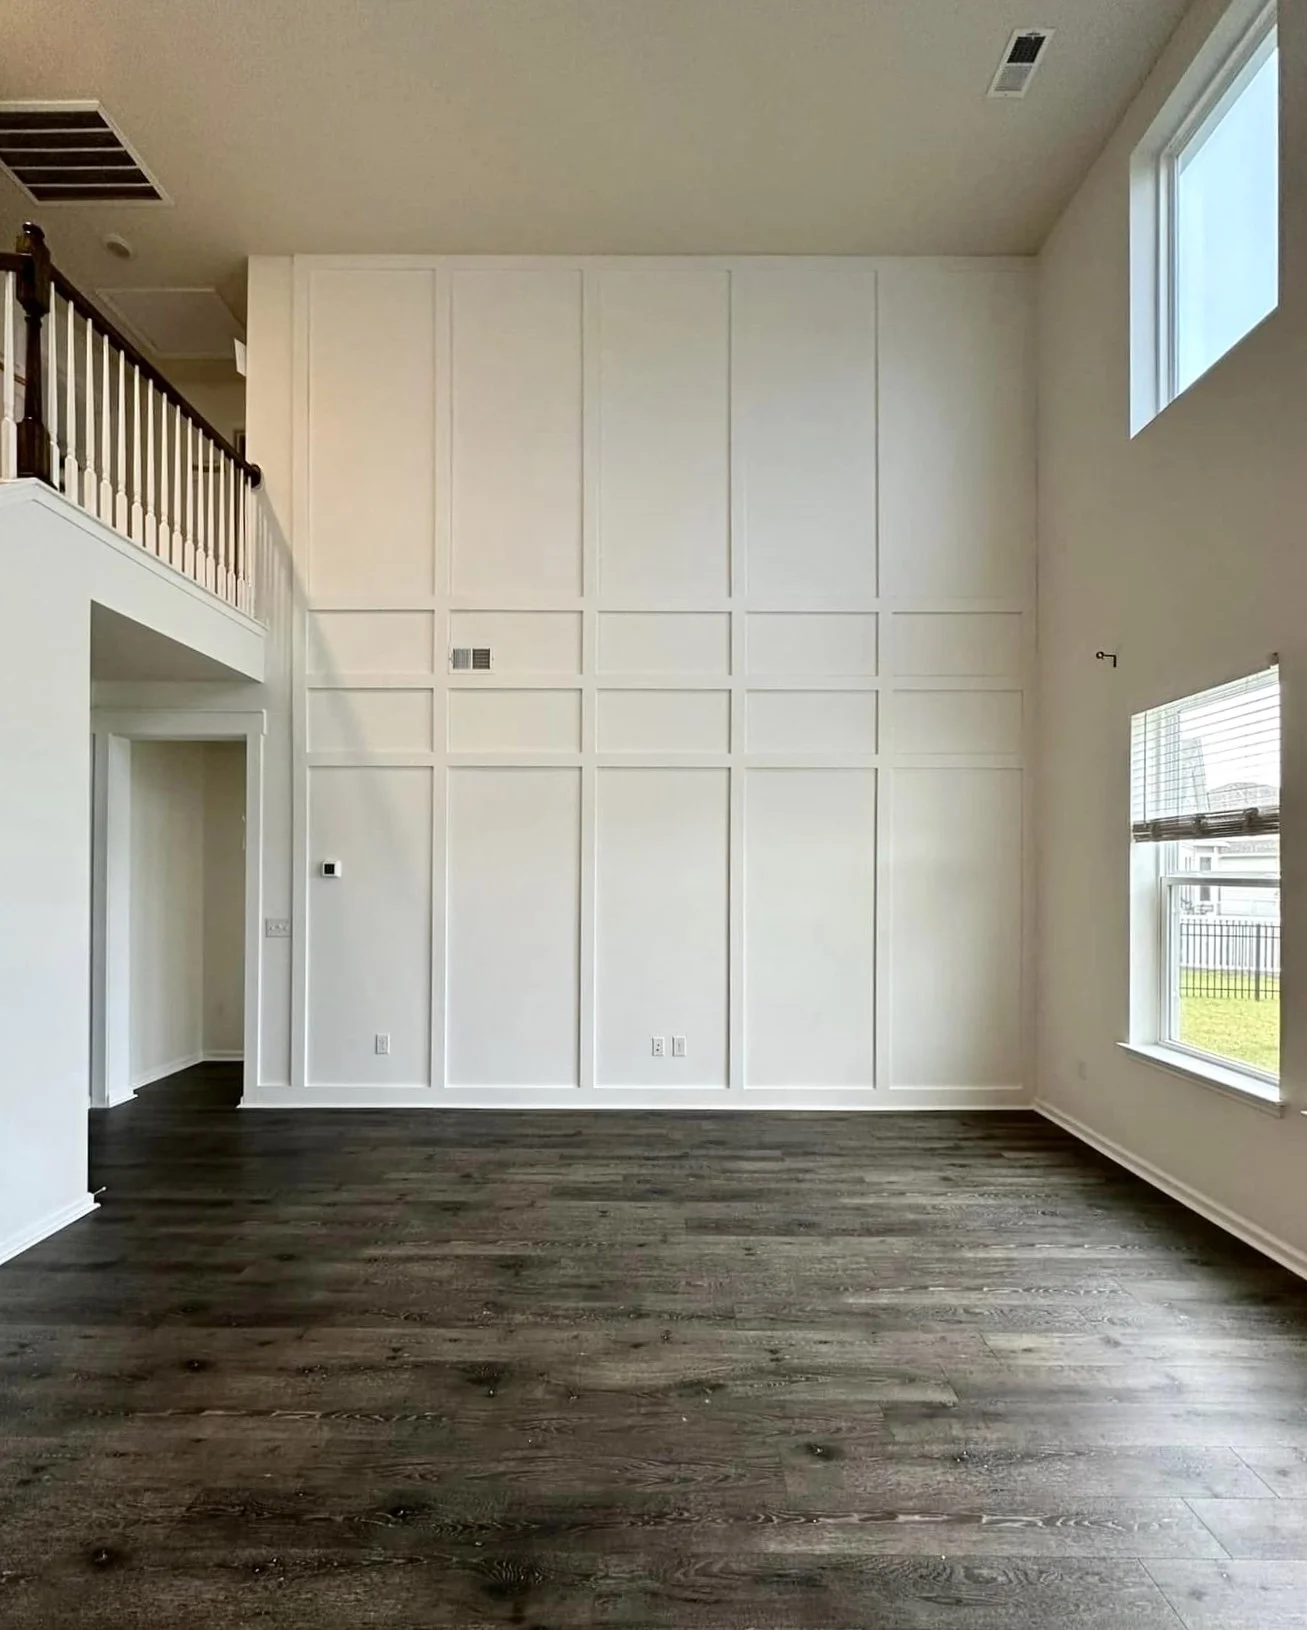
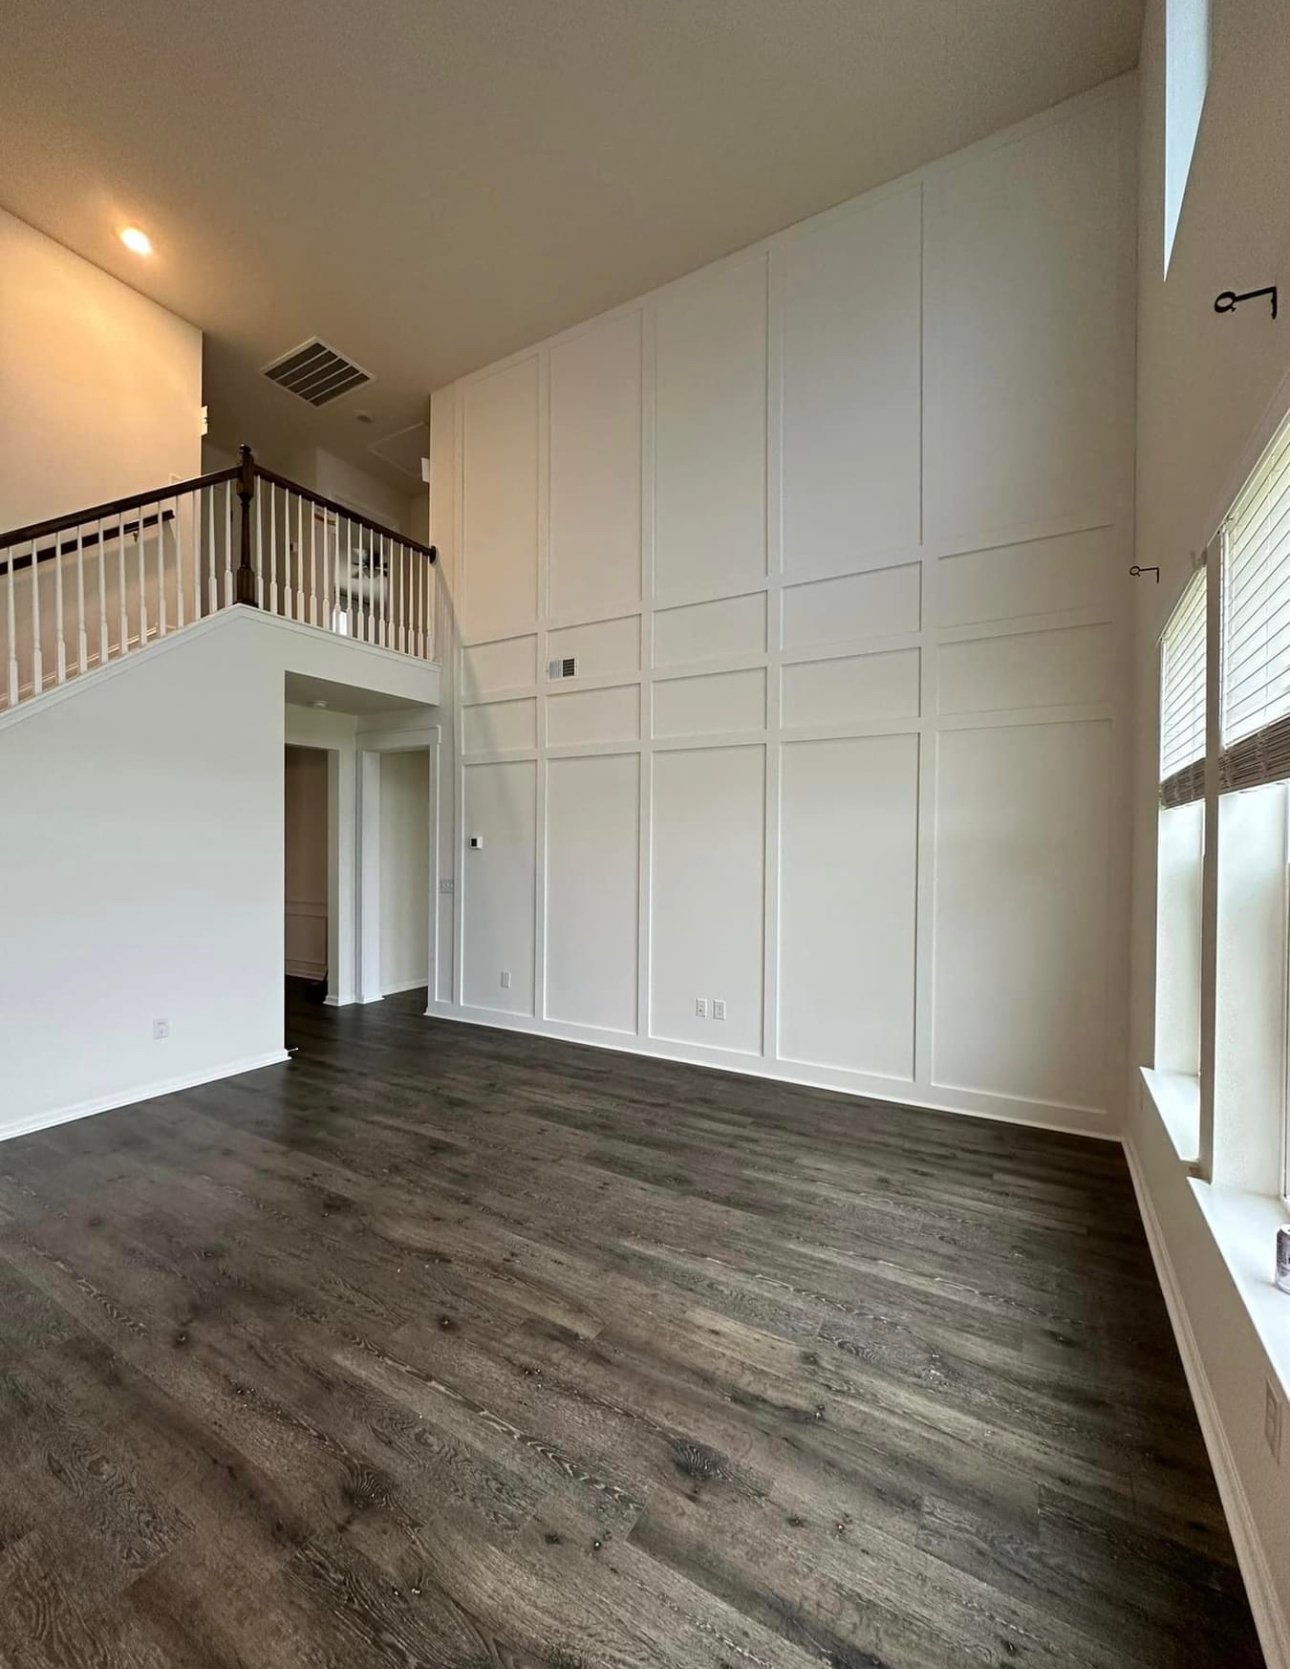
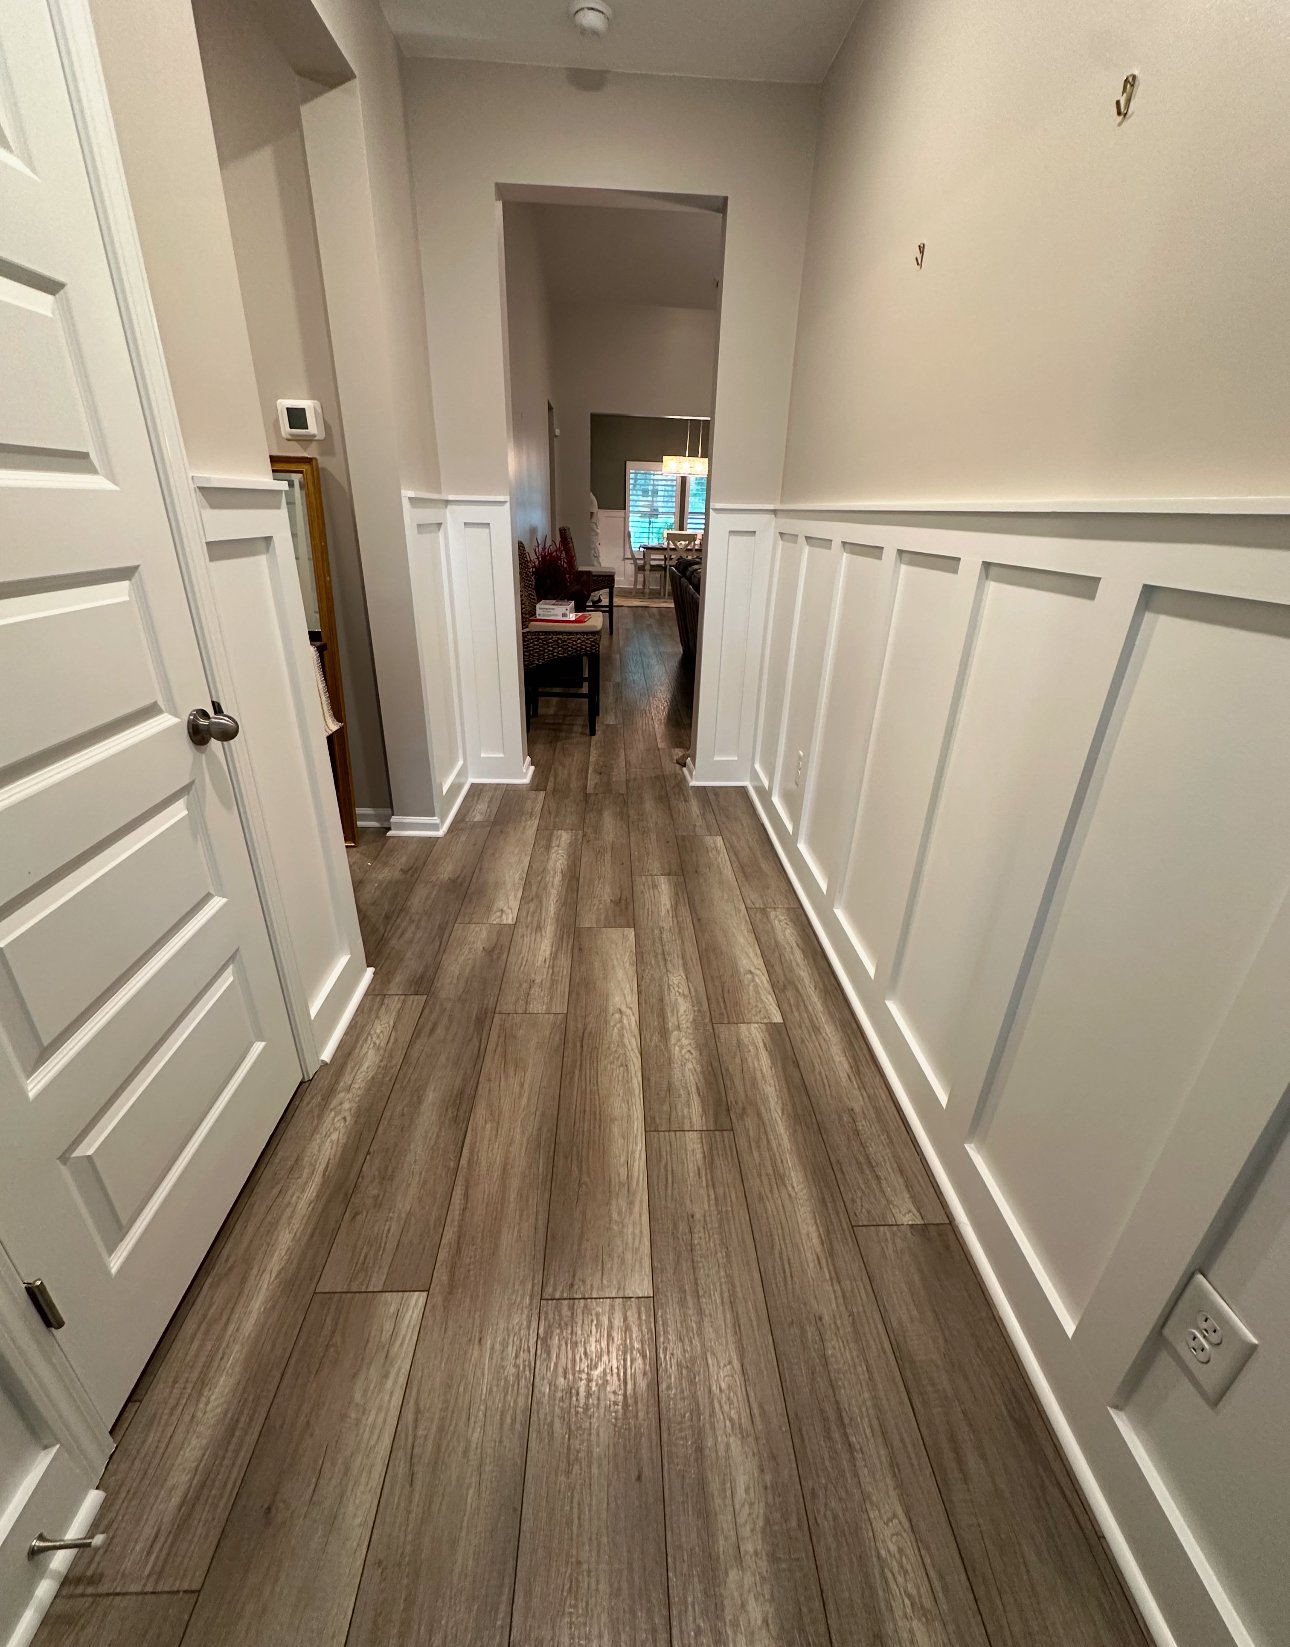
Bring your vision to life with our exceptional custom services. Whether you're looking to install elegant trim, timeless wainscoting, bold shiplap, or stunning board and batten, our team of skilled craftsmen delivers top-tier, tailored solutions that enhance the beauty and functionality of your home. From custom finishes to durable epoxy services, we are dedicated to transforming your space into something truly unique.
Why choose our custom services?
Tailored Designs: Every home is different, and so are your needs. We collaborate with you to create custom finishes and designs that complement your style and elevate the character of your space, whether it’s a classic board and batten look or a sleek, modern epoxy finish.
Expert Craftsmanship: Our team is experienced in a variety of custom installation techniques, ensuring that each piece is flawlessly executed. We take pride in every detail, from the precision of the trim work to the seamless installation of paneling or custom finishes.
Quality Materials: We use only the highest quality materials—from premium trim and paneling to durable epoxy coatings—that ensure your home not only looks great but also stands the test of time. Our finishes are designed to be both beautiful and lasting, offering you peace of mind for years to come.
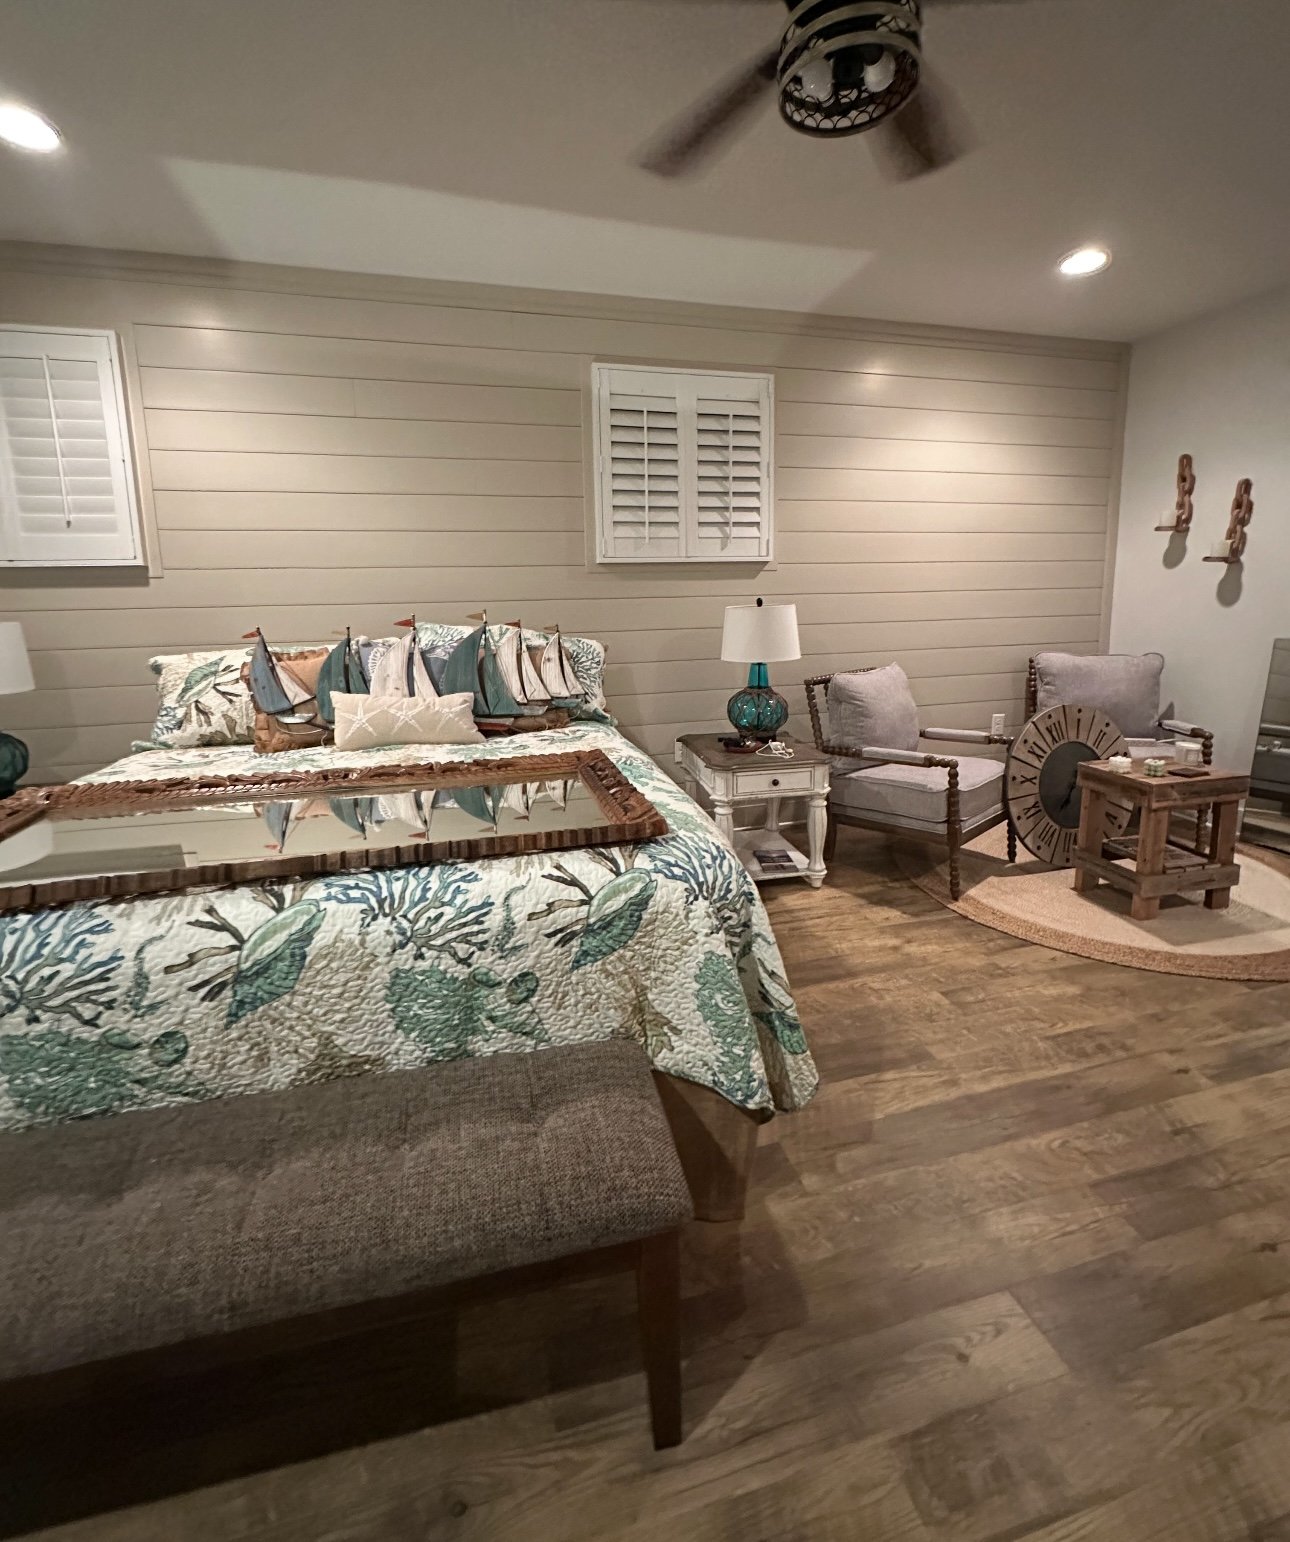
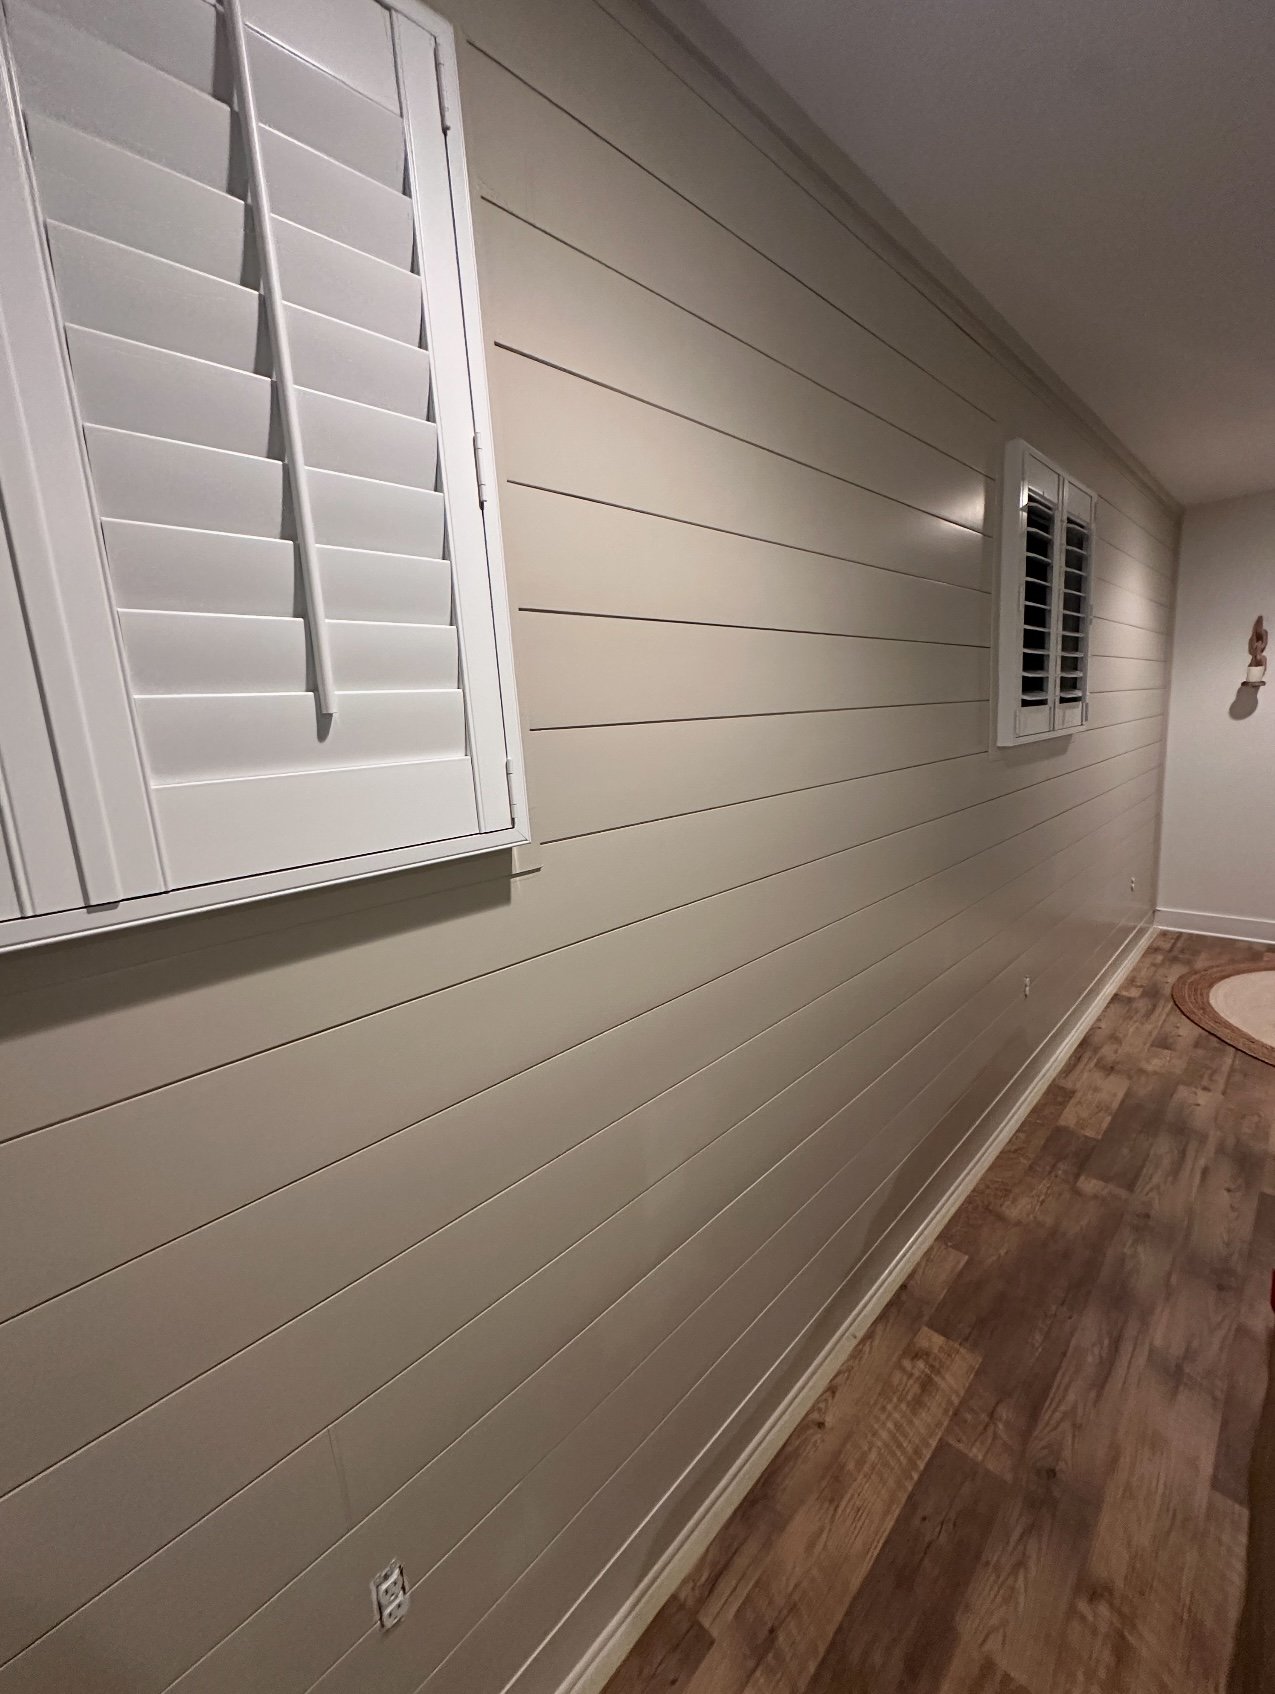
Endless Possibilities: Whether you’re looking to enhance your walls with stylish wainscoting or introduce a bold new element with shiplap, the possibilities are endless. We can help you select the perfect designs and finishes to create a space that feels uniquely yours.
Efficient, Professional Service: Our team works quickly and efficiently to minimize disruption in your home while delivering exceptional results. We respect your time, your space, and your vision, ensuring that your custom project is completed with minimal inconvenience and maximum satisfaction.
The ReImagined Promise
When you hire ReImagined Painting & Design, we offer more than just offer excellent painting services—we create environments. From the simplest trim to the most intricate custom work, we bring expertise, creativity, and attention to detail to every project. Whether you're enhancing a single room or transforming your entire home, we are here to help you bring your ideas to life with precision and craftsmanship.
Contact us today for a consultation, and let’s explore how our custom services can add beauty, character, and value to your home.
What to expect from our custom services
-
Consultation & Design
Discuss client preferences and select trim style/materials.
Measurement & Planning
Measure and plan cuts for precise fit and design flow.
Surface Preparation
Clean and smooth walls, floors, and ceilings.
Cutting & Pre-Assembly
Cut and pre-assemble trim pieces, including mitered corners.
Installation
Securely install trim, ensuring level and proper alignment.
Caulking & Filling
Caulk gaps and fill nail holes for a seamless look.
Sanding & Finishing
Sand edges and apply finishes (paint, stain, etc.).
-
Consultation & Design
Discuss style preferences and room dimensions with the client.
Choose crown molding style, material, and finish.
Measurement & Planning
Measure wall and ceiling dimensions to determine crown molding lengths.
Plan for mitered corners, angles, and seamless transitions.
Cutting Molding
Cut crown molding to size, including mitered cuts for corners.
Ensure proper angles for inside and outside corners.
Surface Preparation
Ensure walls and ceilings are clean and smooth.
Check for any imperfections and fill as needed.
Installation
Secure crown molding to the wall and ceiling using nails, screws, or adhesive.
Caulking & Filling
Caulk gaps between molding and ceiling/walls for a clean finish.
Fill nail holes and seams with putty or wood filler.
Sanding & Finishing
Sand filled areas smooth and apply final coats of paint or stain.
-
Design & Material Selection
Discuss style, spacing, and materials (wood, MDF, etc.).
Measurement & Planning
Measure the wall and plan board and batten placement.
Surface Prep
Clean, smooth, and patch the wall.
Install Vertical Boards
Secure boards to the wall, ensuring they are plumb and aligned.
Attach Battens
Install battens over seams, ensuring they are level and properly spaced.
Caulking & Filling
Caulk gaps, fill nail holes, and sand smooth.
Finish
Sand, then apply paint or stain for a polished finish.
-
Design & Material Selection
Choose style, materials, and trim.
Measurement & Planning
Measure wall dimensions and plan panel layout.
Surface Prep
Clean and patch wall.
Install Panels & Rails
Secure panels and rails to the wall.
Caulking & Filling
Caulk gaps and fill nail holes.
Sanding & Finishing
Sand smooth and apply paint or stain.
-
Design & Material Selection
Choose shiplap style (traditional or modern) and material (wood, MDF, etc.).
Measurement & Planning
Measure wall dimensions and plan panel layout for even coverage.
Surface Prep
Clean and prep the wall, patching any holes or imperfections.
Install Boards
Continue Install boards row by row, making sure they are level and each board fits tightly with the next.
Caulking & Filling
Caulk gaps for a seamless look and fill nail holes with wood filler or putty.
Sanding & Finishing
Sand the filled areas smooth, then apply paint or stain.
-
Consultation & Design
Discuss design style, grid pattern, and material options with the client.
Measurement & Layout
Measure ceiling dimensions and mark grid layout for beams and recessed panels.
Surface Preparation
Ensure the ceiling is clean, level, and structurally sound.
Cutting Beams & Panels
Cut beams (wood or MDF) to the required lengths.
Install Beams
Secure beams to the ceiling using screws, nails, or adhesive, ensuring they are level and aligned.
Install Coffered Panels
Attach recessed panels inside the grid, securing them with nails or adhesive.
Trim & Molding Installation
Install any necessary trim or molding around the beams and panels for a finished look.
Caulking & Filling
Caulk gaps and fill nail holes with wood filler or putty.
Sanding & Finishing
Sand the filled areas and edges smooth, then apply paint, stain, or finish.
-
Consultation & Design
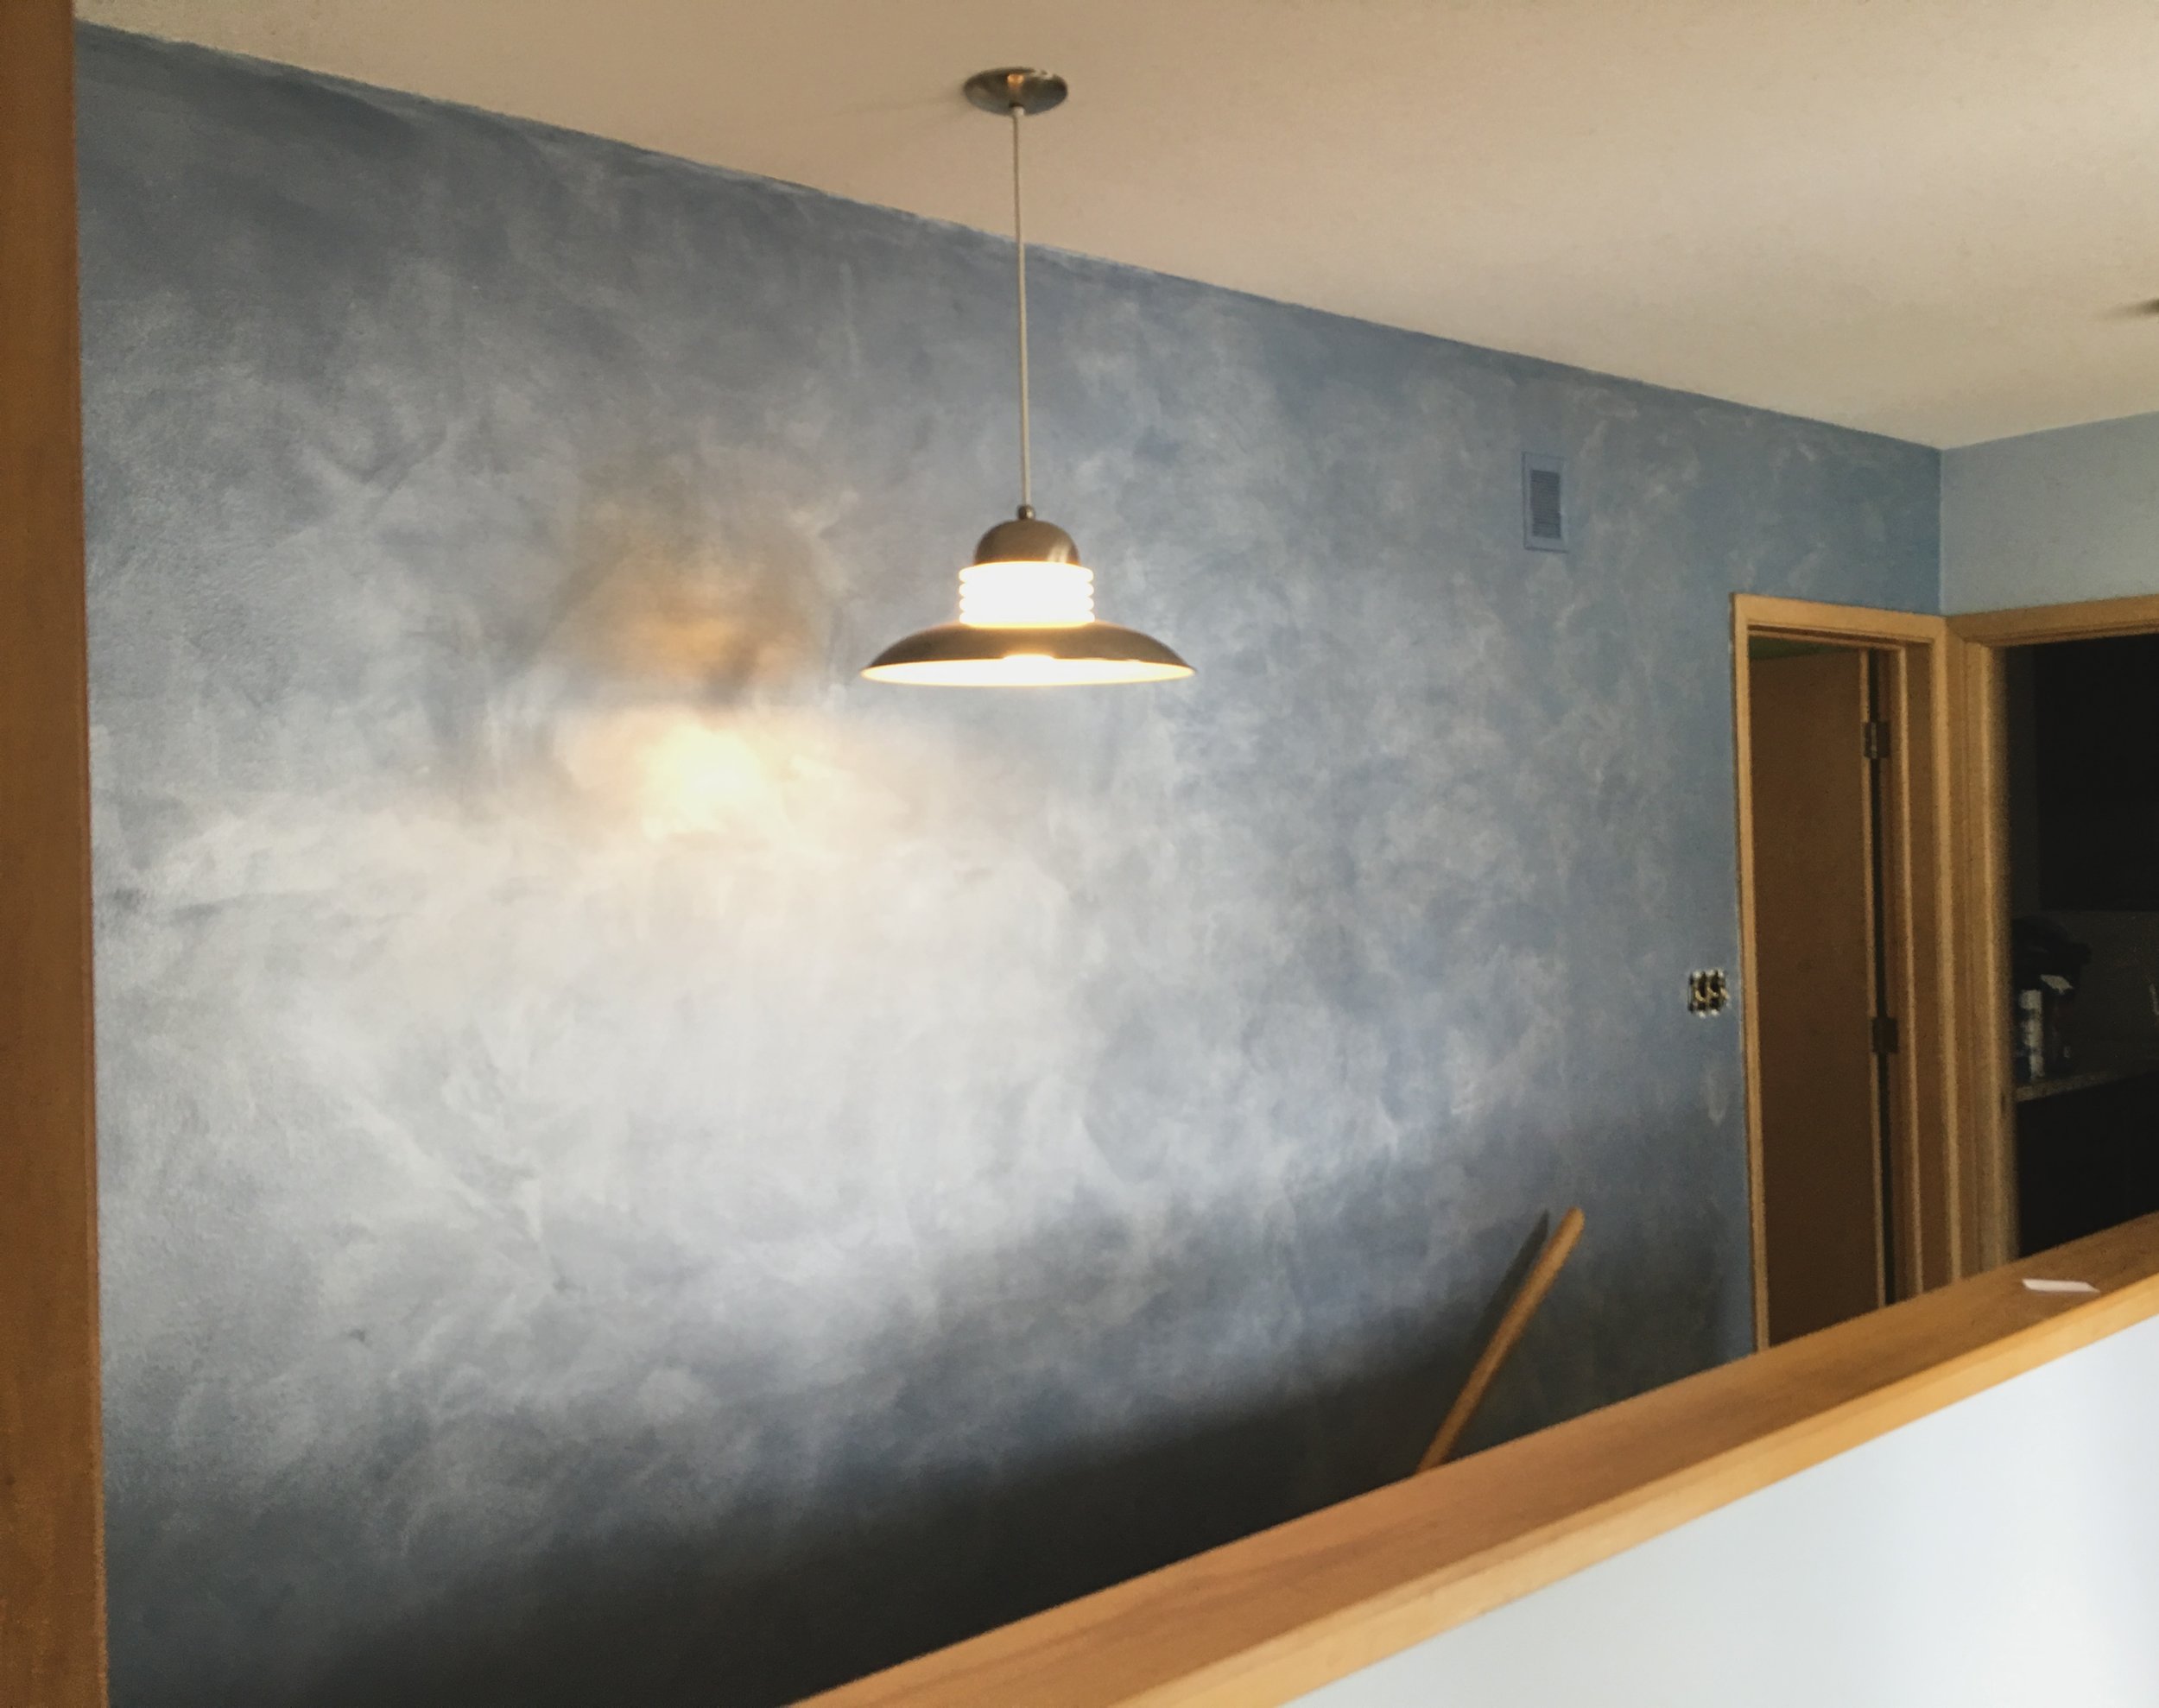
Discuss desired look, finish style (e.g., faux, distressed, metallic, etc.), and color options with the client.
Surface Preparation
Clean, sand, and patch surfaces to ensure a smooth base for painting.
Base Coat Application
Apply a base coat of paint (usually a neutral or lighter color) to the surface.
Create Faux/Custom Finish Mix
Mix glaze or custom finish material based on the desired effect (e.g., glaze, metallic, textured, etc.).
Apply Faux Technique
Use brushes, rollers, sponges, or rags to apply the faux finish technique (e.g., rag rolling, sponging, brushing, etc.) to the surface.
Layering & Texture
Layer multiple coats or textures as needed for depth and dimension (e.g., creating a marble, leather, or aged wood effect).
Detailing & Custom Accents
Add custom detailing such as stenciling, shading, or accent highlights for a personalized look.
Drying & Touch-ups
Allow drying time between layers and perform any necessary touch-ups to perfect the finish.
Sealing & Protection
Apply a protective top coat or sealant to preserve the finish and add durability.
-
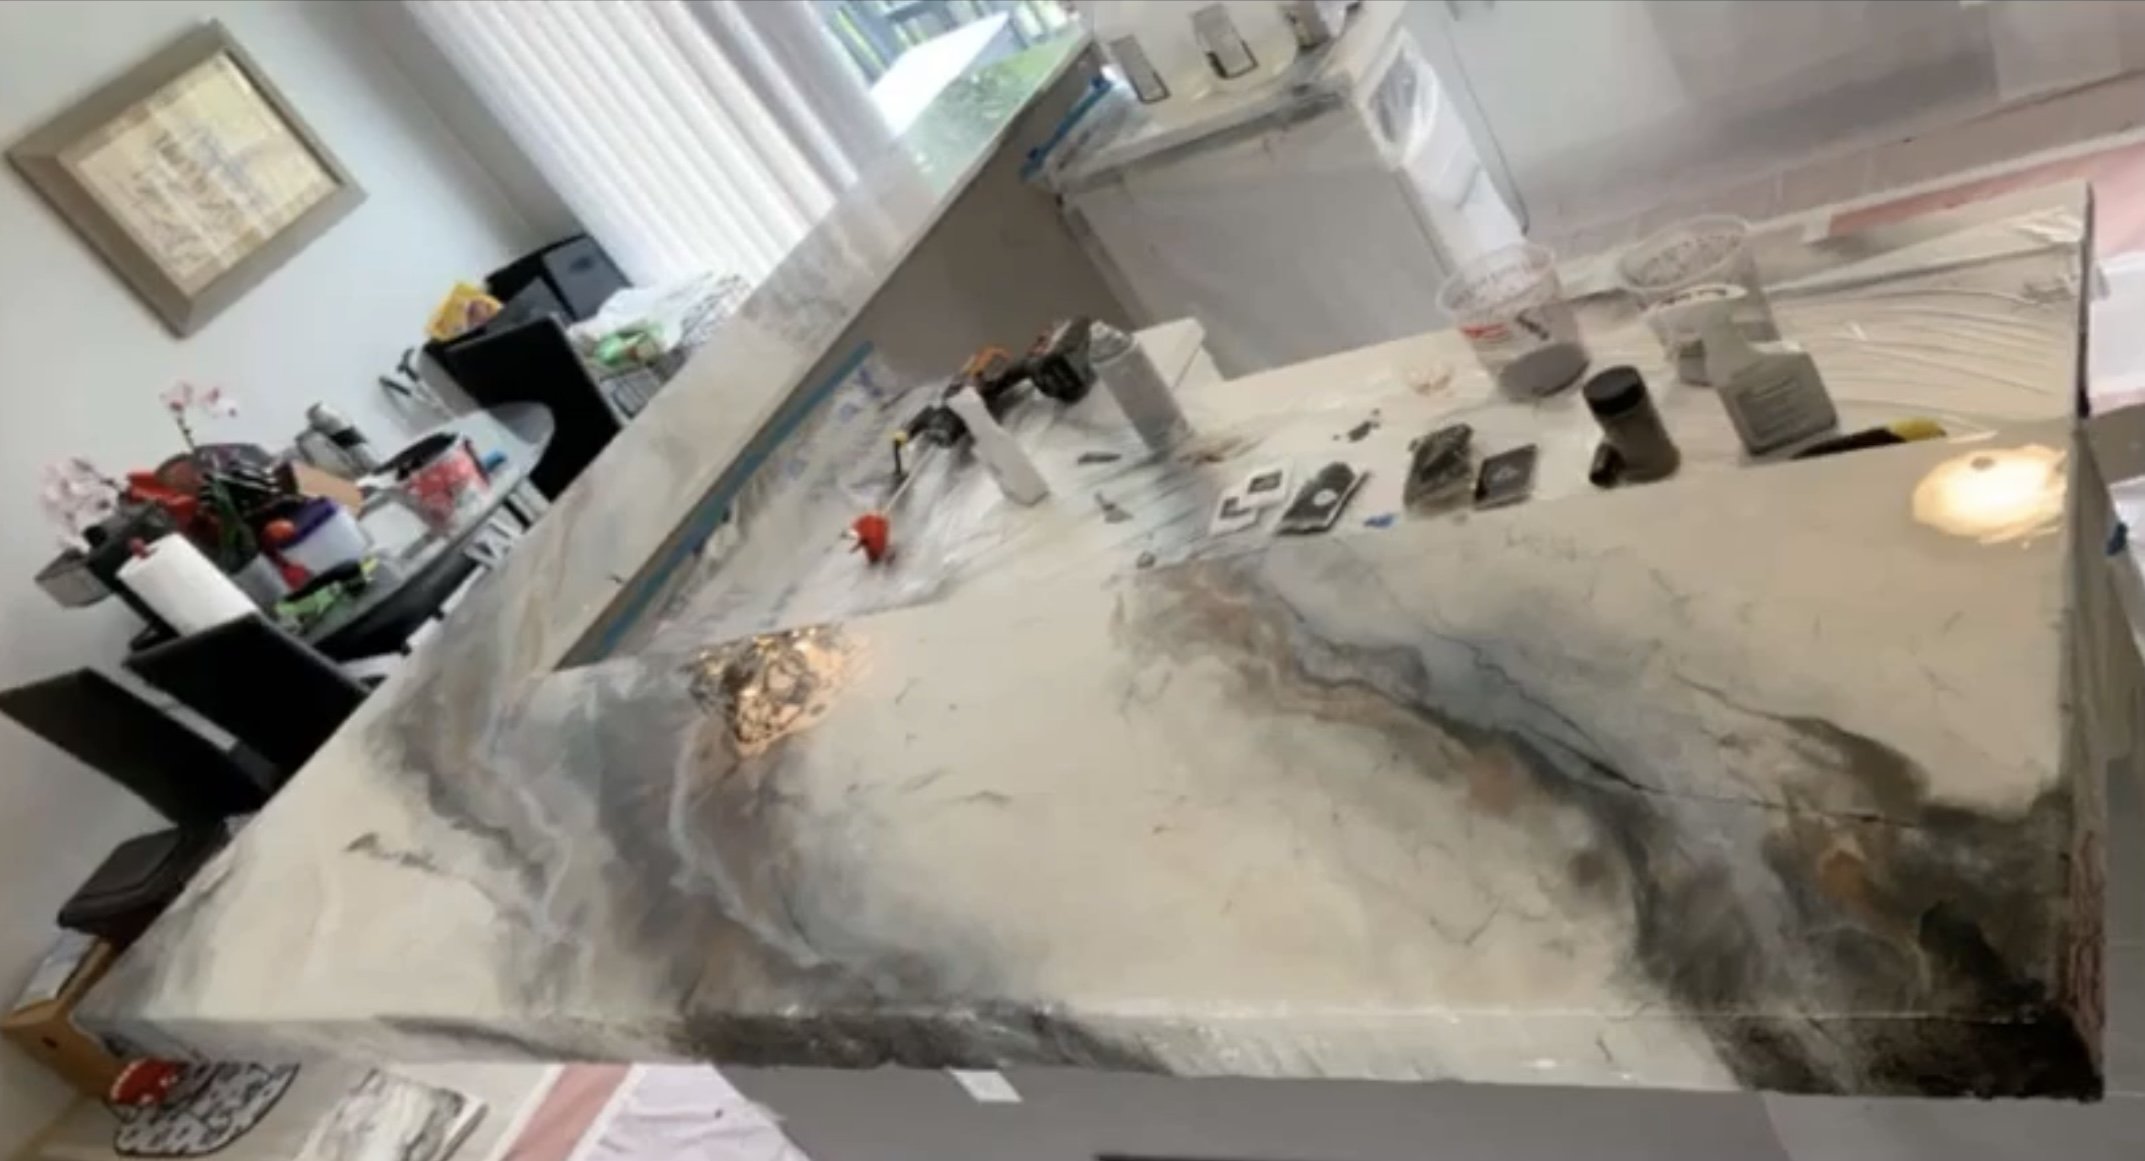
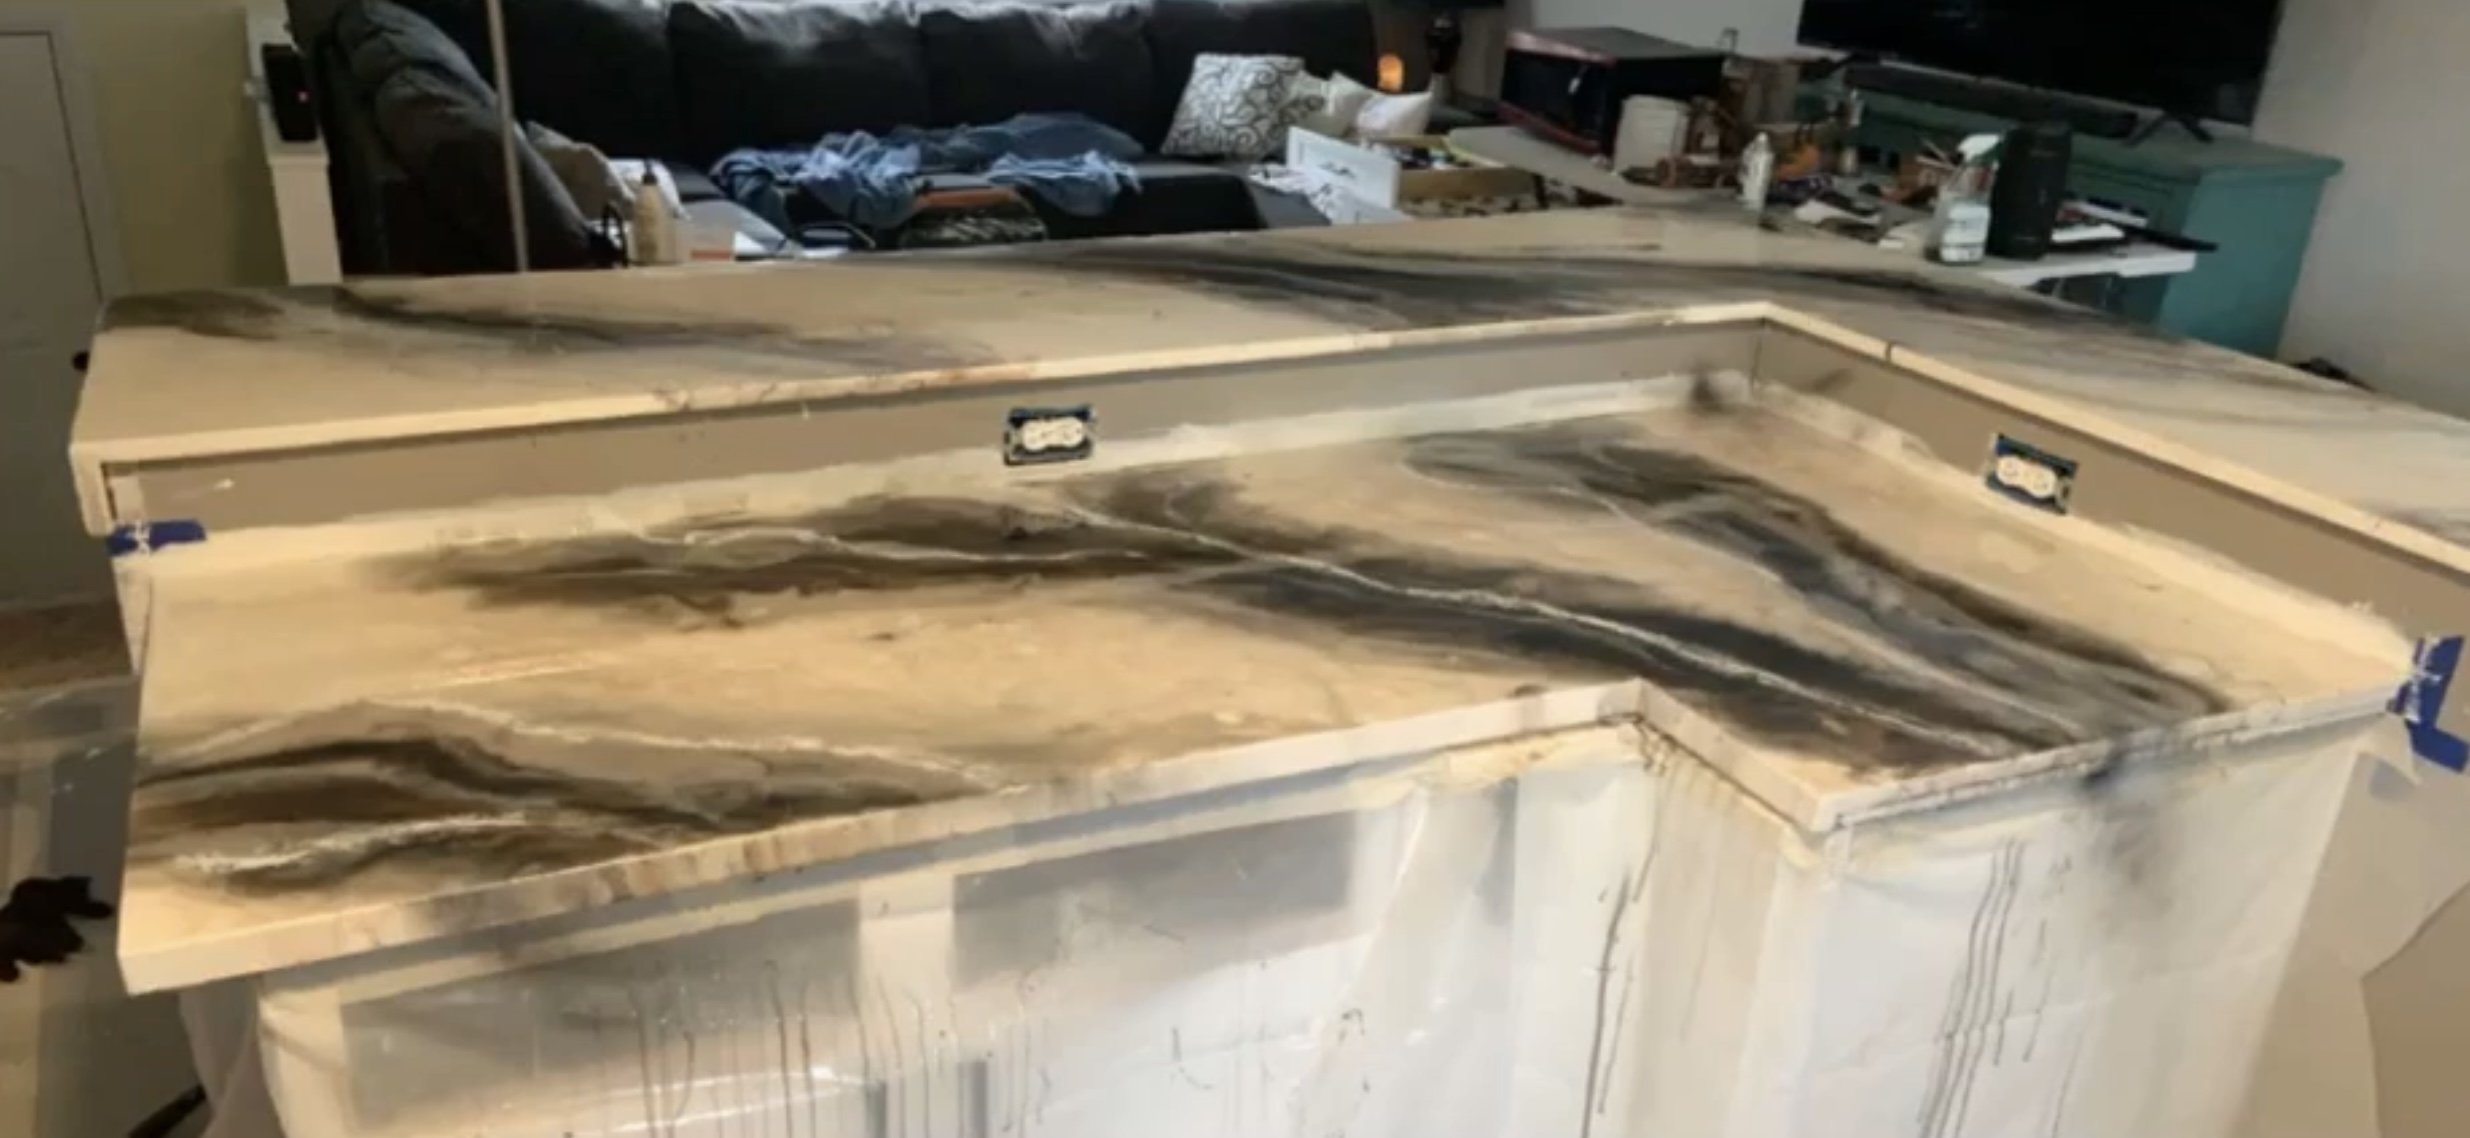
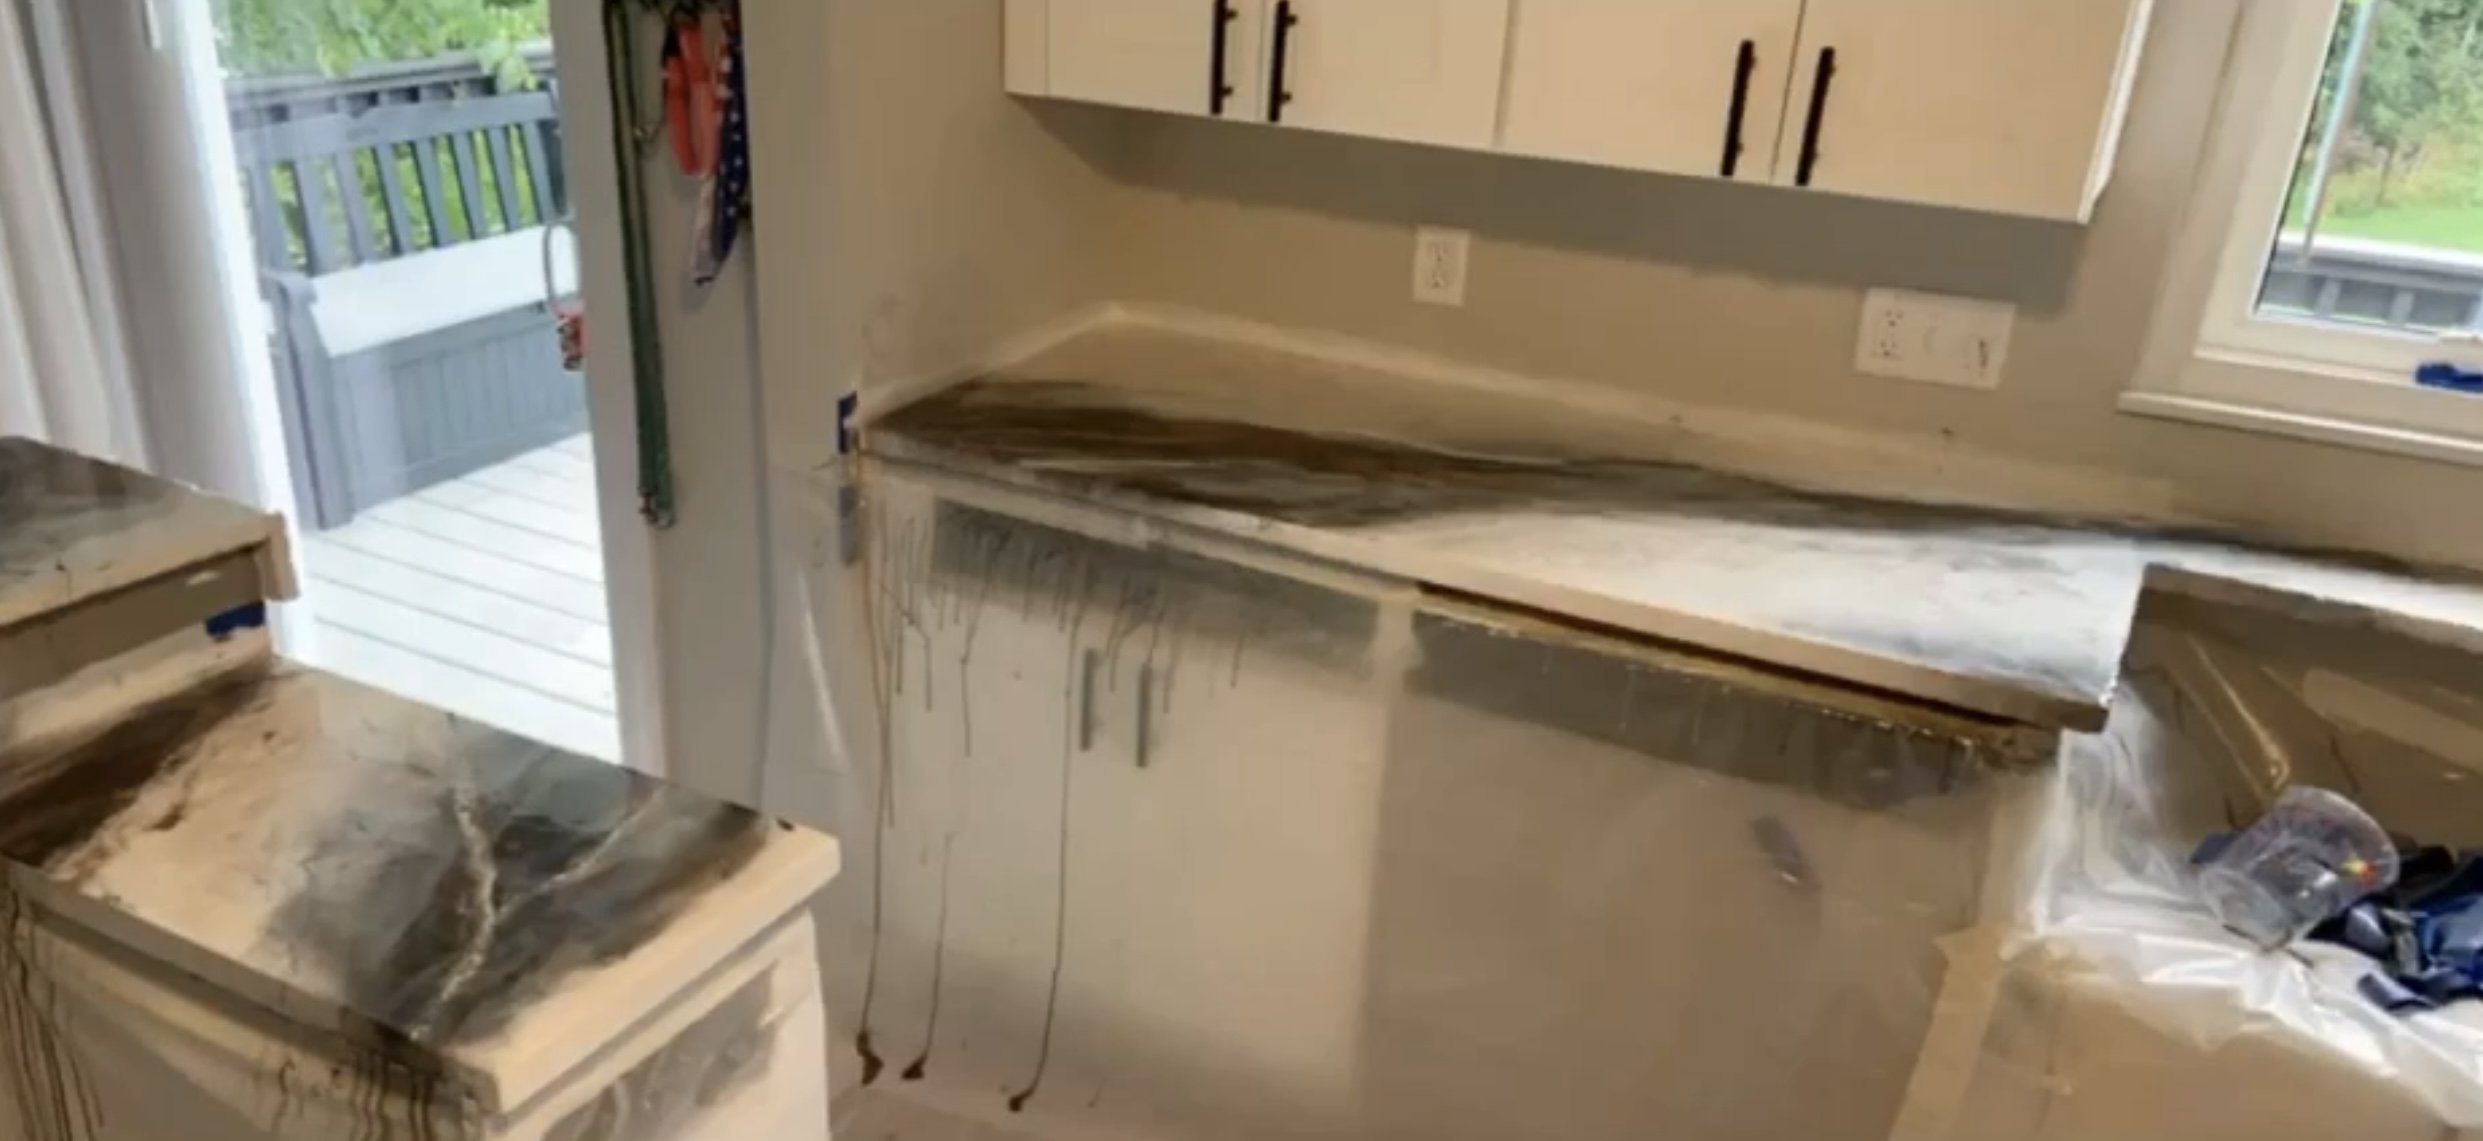
Consultation & Design
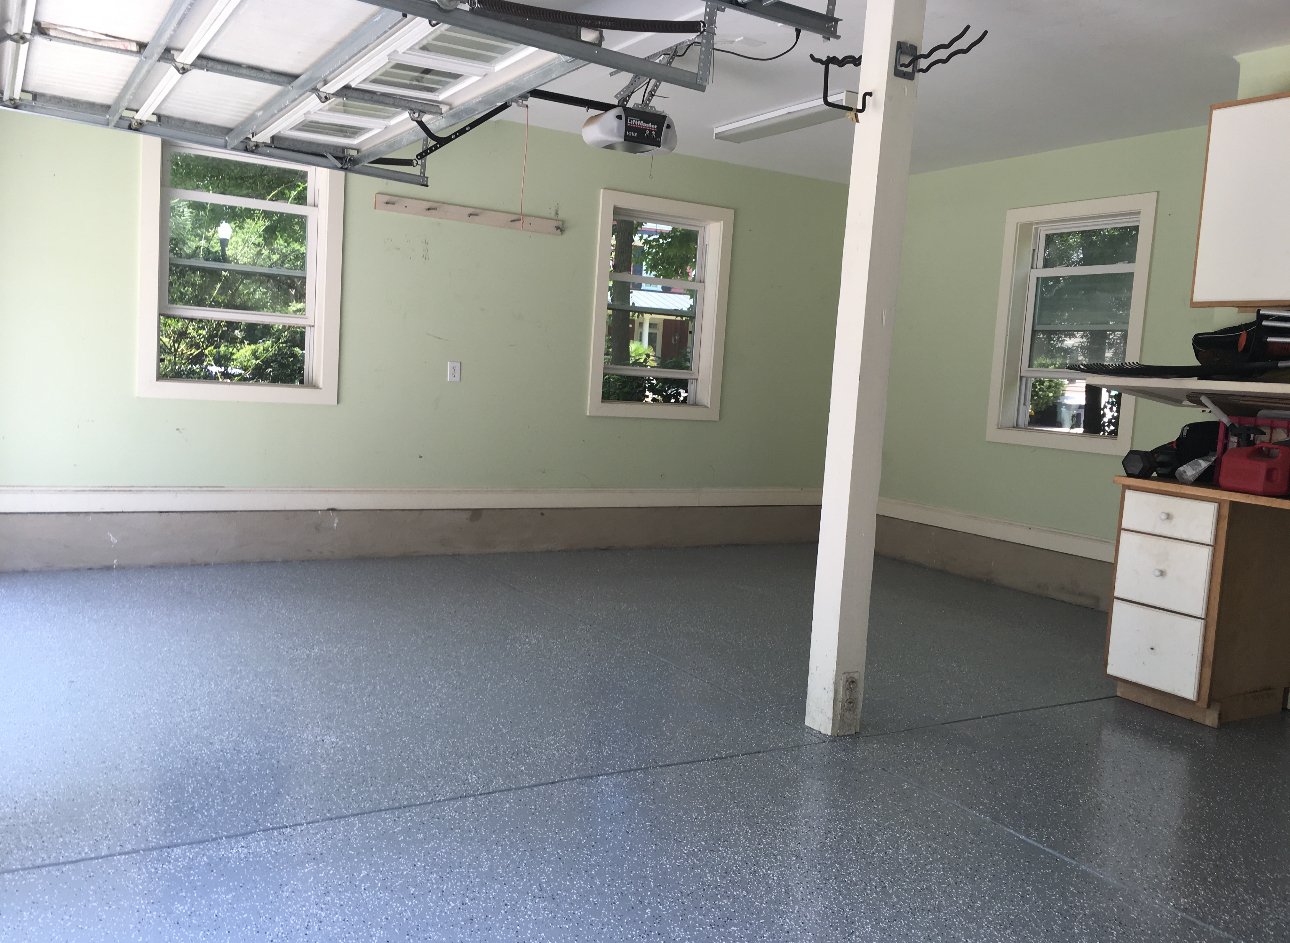
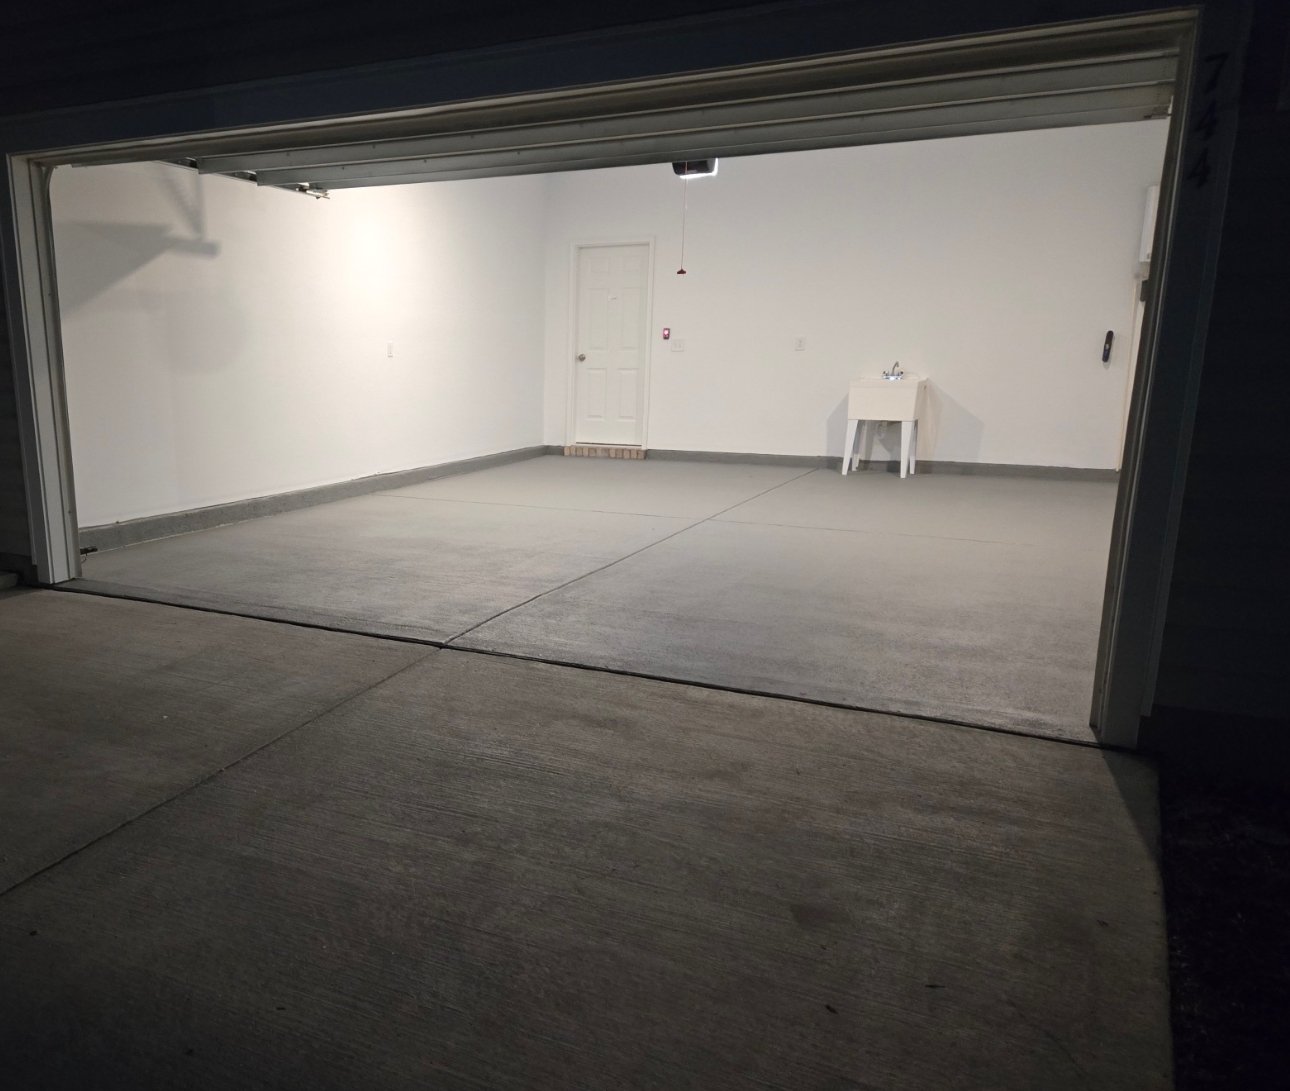
Discuss the desired look, color, and finish for the epoxy coating (e.g., gloss, matte, decorative flakes, etc.).
Surface Preparation
Clean the surface thoroughly, removing dirt, grease, and oils.
Sand or grind the surface (e.g., concrete floor) to create a rough texture for better adhesion.
Patch & Repair
Fill cracks, holes, or imperfections with epoxy patching compound and allow it to cure.
Priming (if needed)
Apply a primer layer if recommended for adhesion or to seal porous surfaces.
Mixing Epoxy
Carefully mix the epoxy resin and hardener according to manufacturer instructions to ensure proper chemical reaction.
Apply Epoxy Coating
Pour and spread the epoxy onto the surface using a roller, brush, or squeegee.
Apply Additional Coats
Apply a second coat if required, allowing the first layer to dry before proceeding.
Optional Decorative Elements
Add decorative flakes, metallic pigments, or other additives if desired, and allow them to set into the wet epoxy.
Curing Time
Allow the epoxy to cure for the recommended time (typically 24-72 hours, depending on the product).


Contact us for more information
Hours
Monday–Friday
8:00am - 6:00pm
Saturday & Sunday
9:00am - 4:00pm
Phone
(330) 410 - 2790
Email
info@RPDoh.com
Follow us for more content and info

