Interior Painting
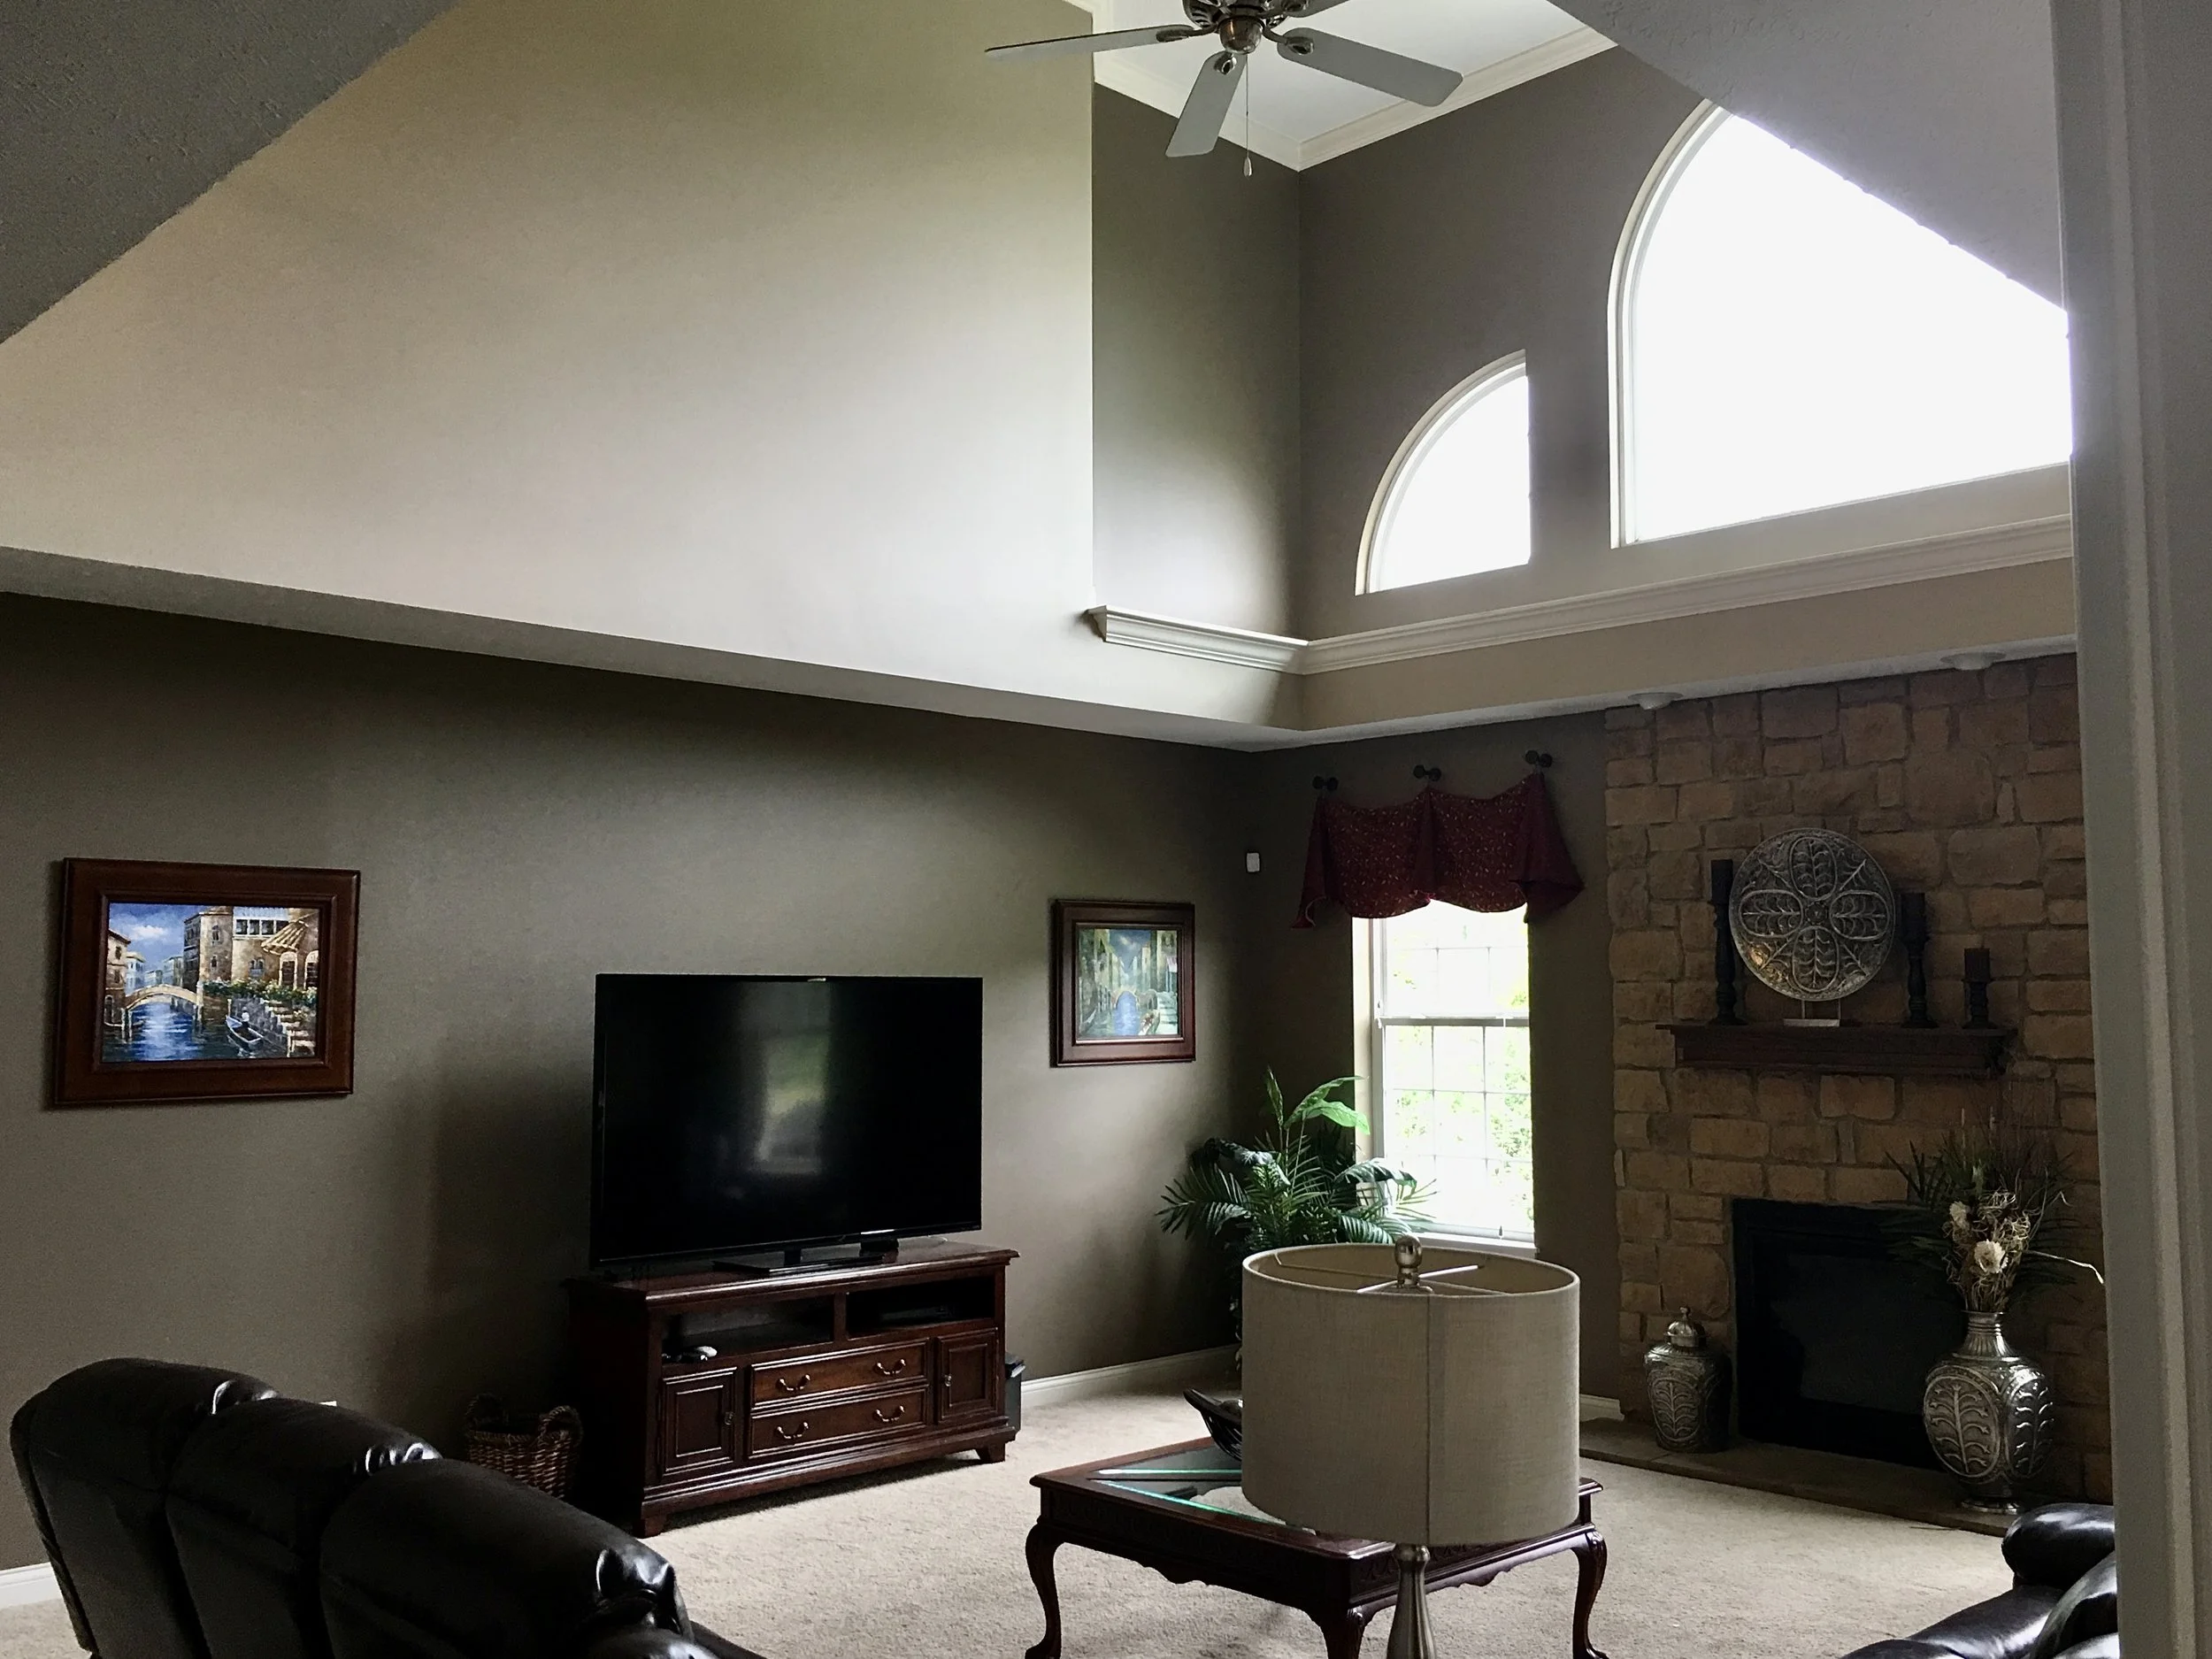
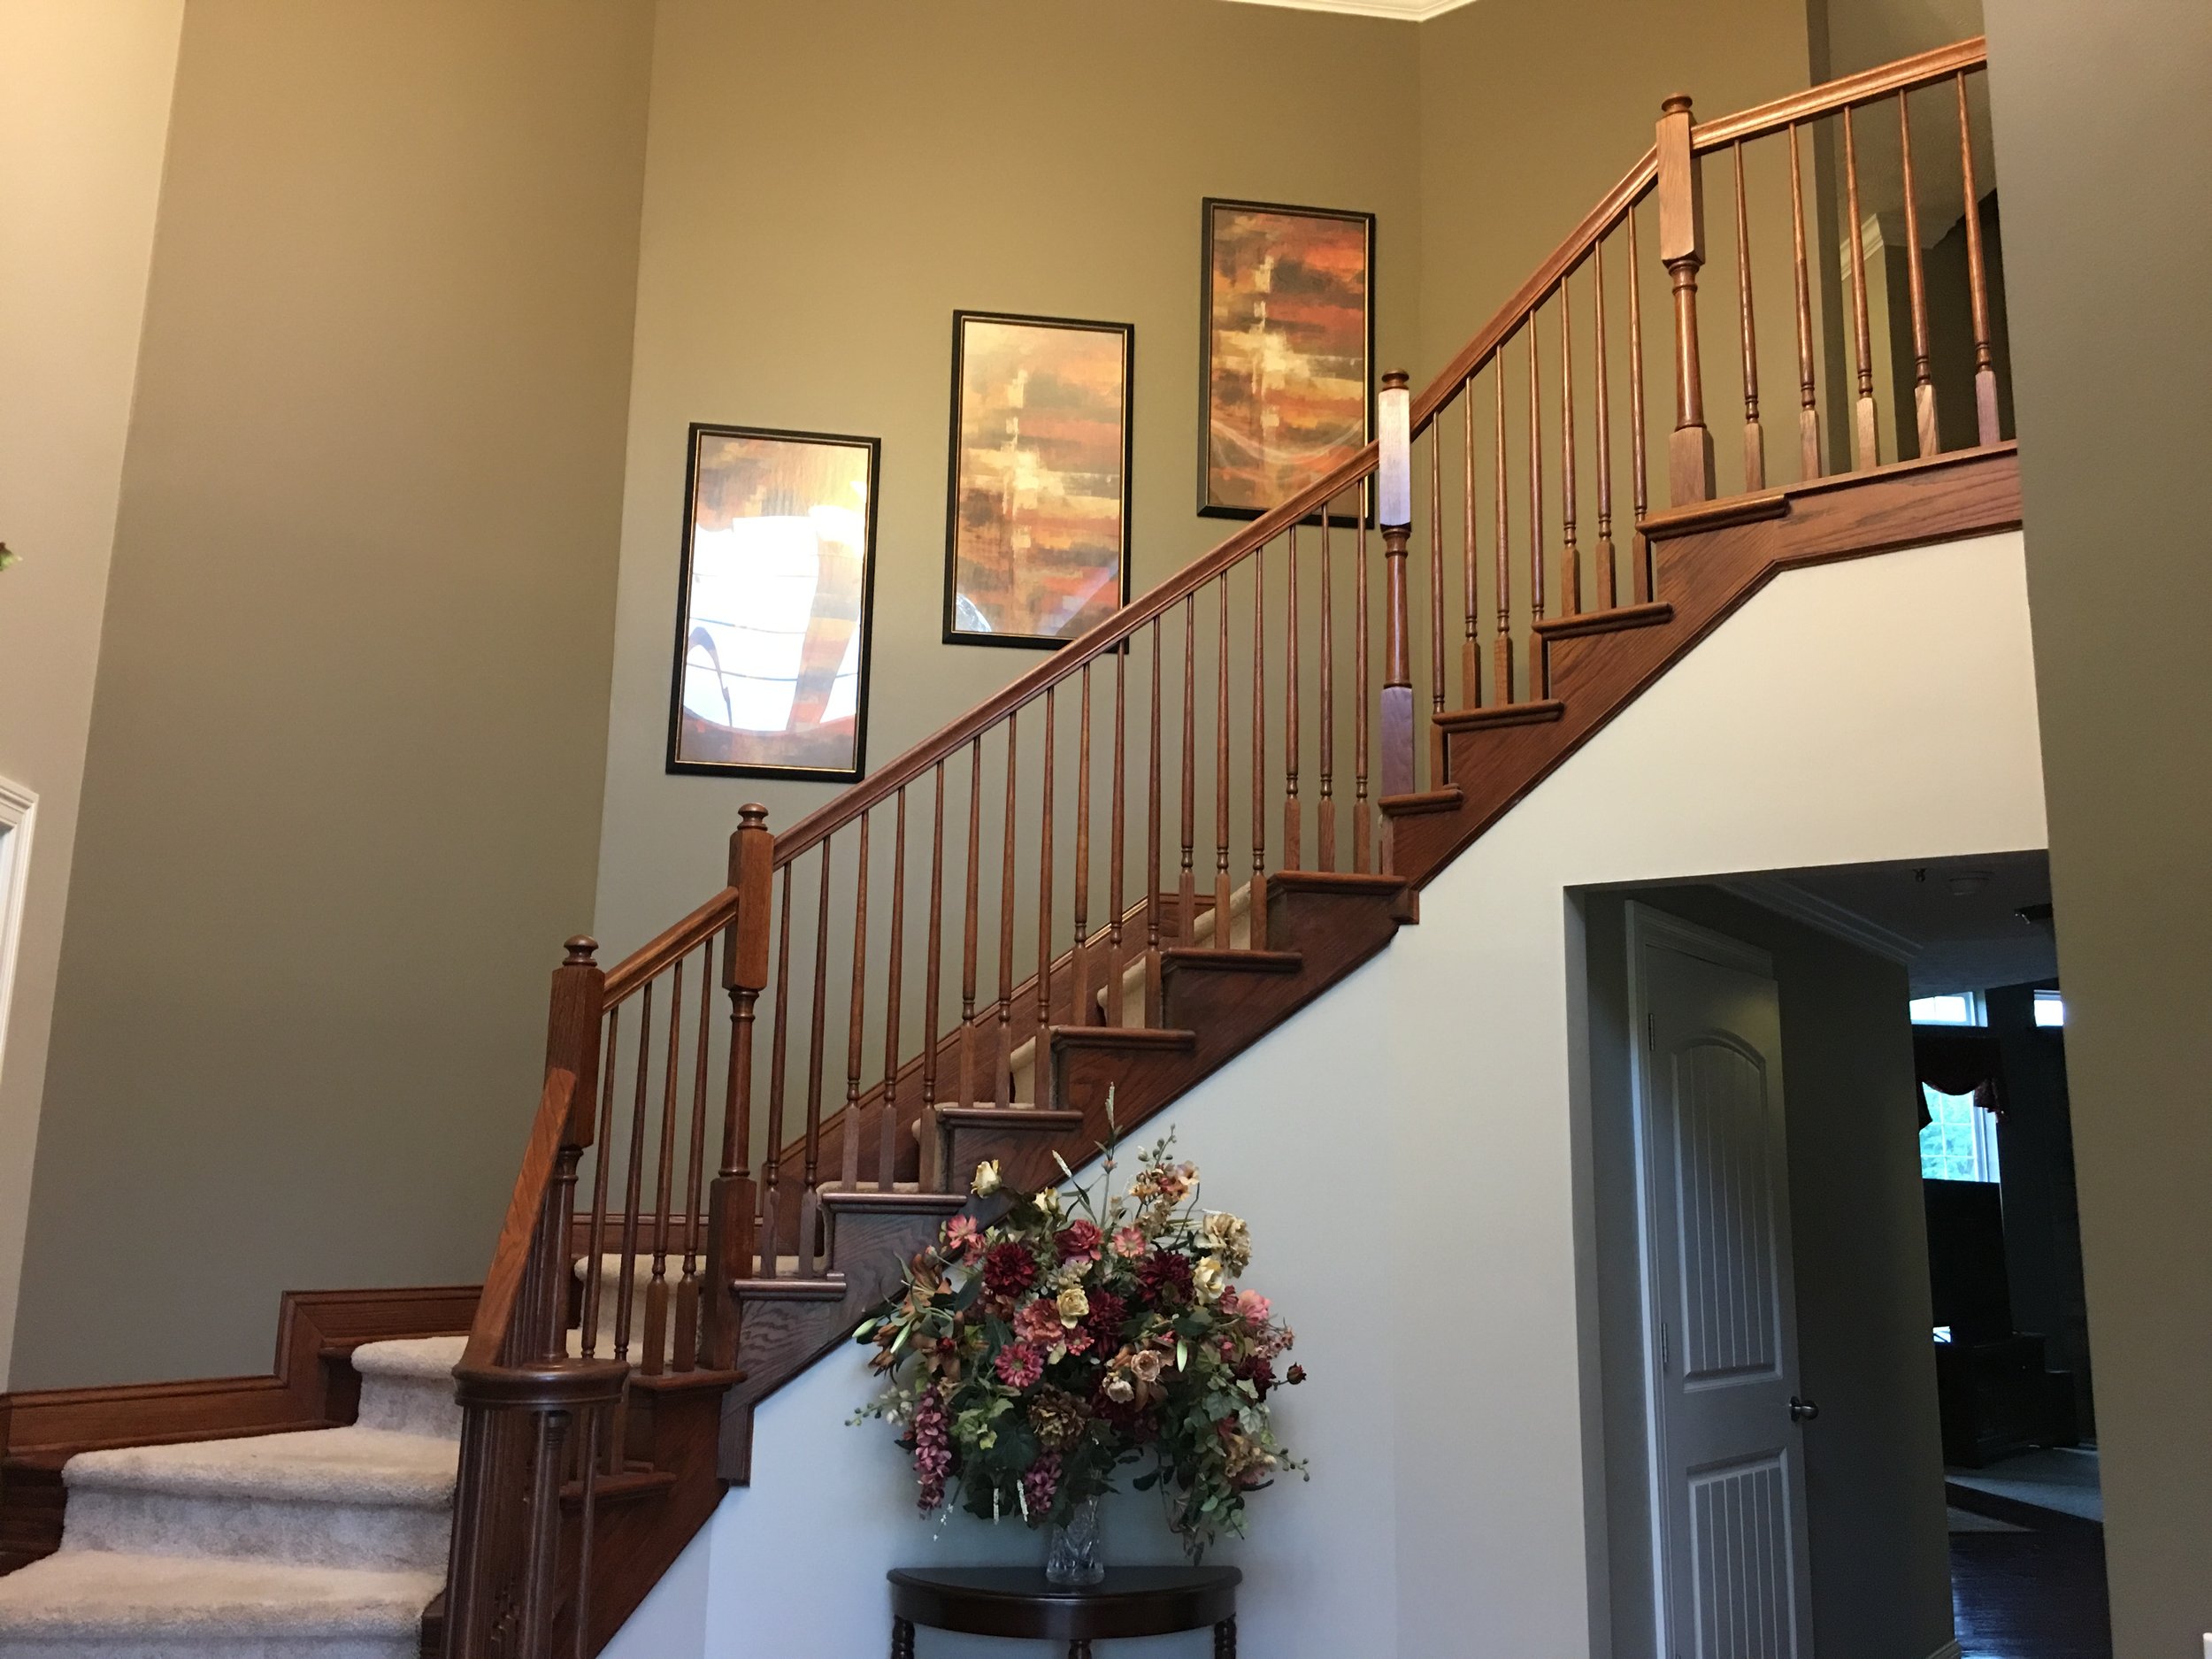
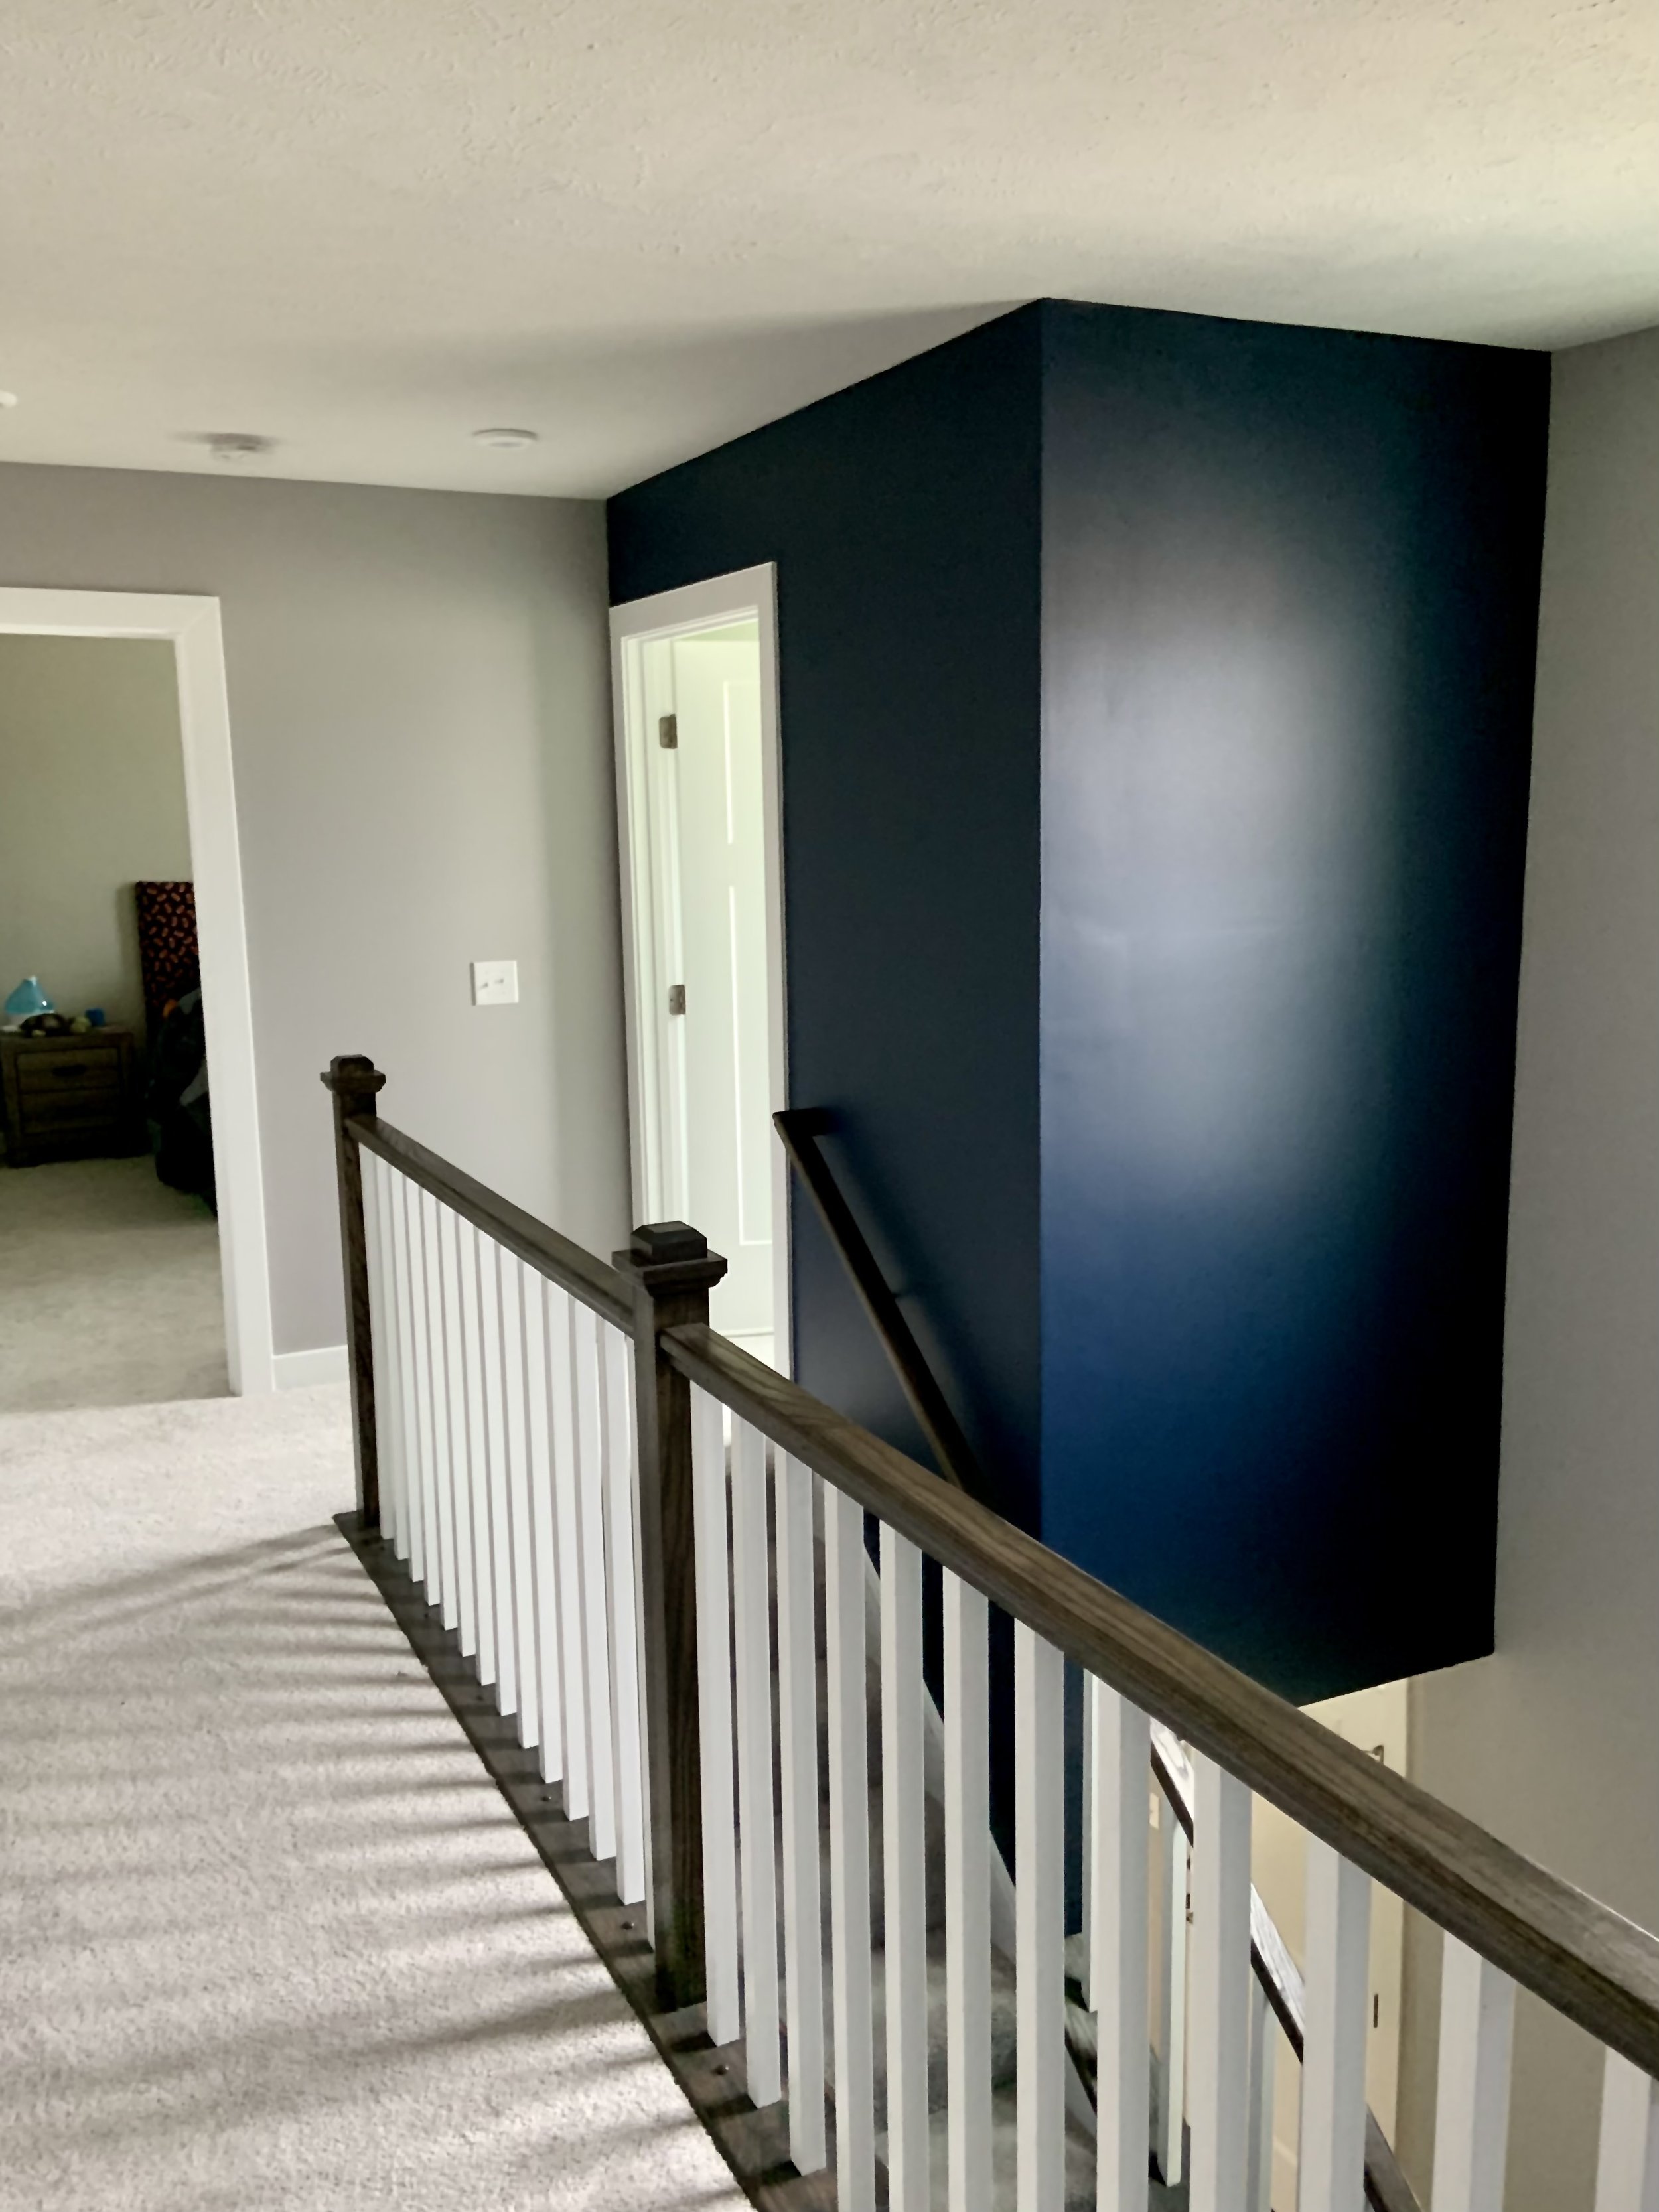
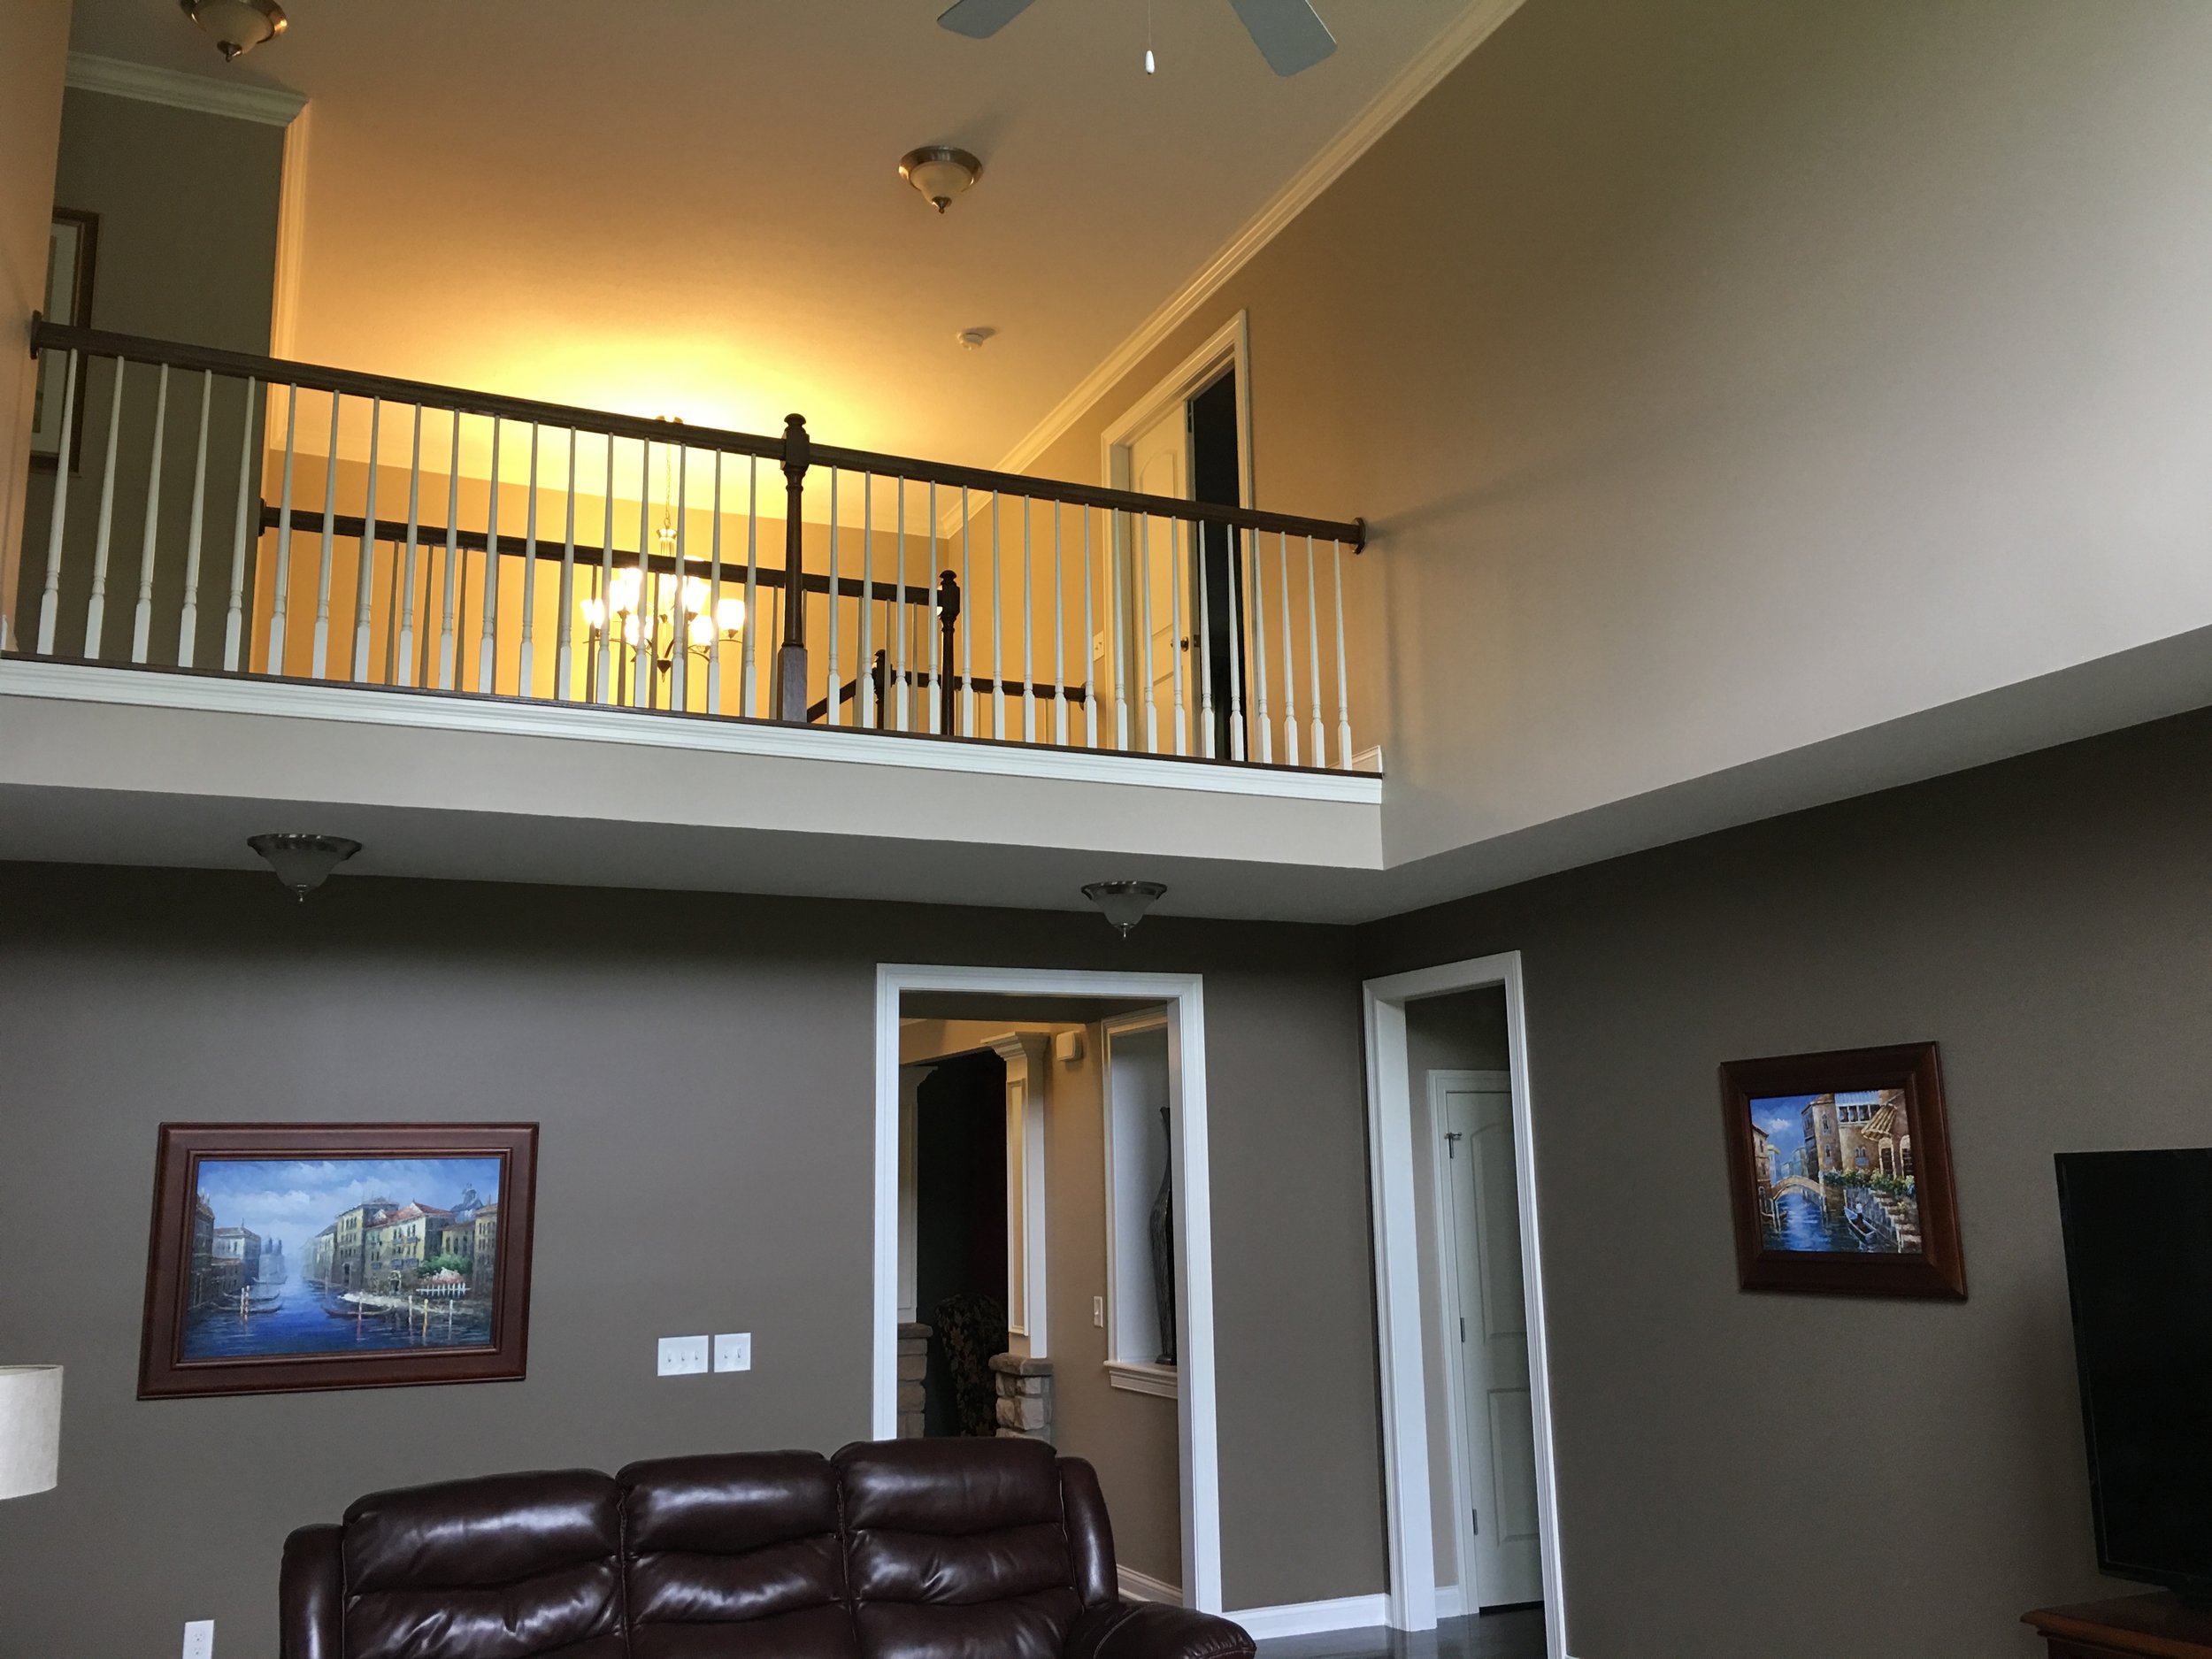
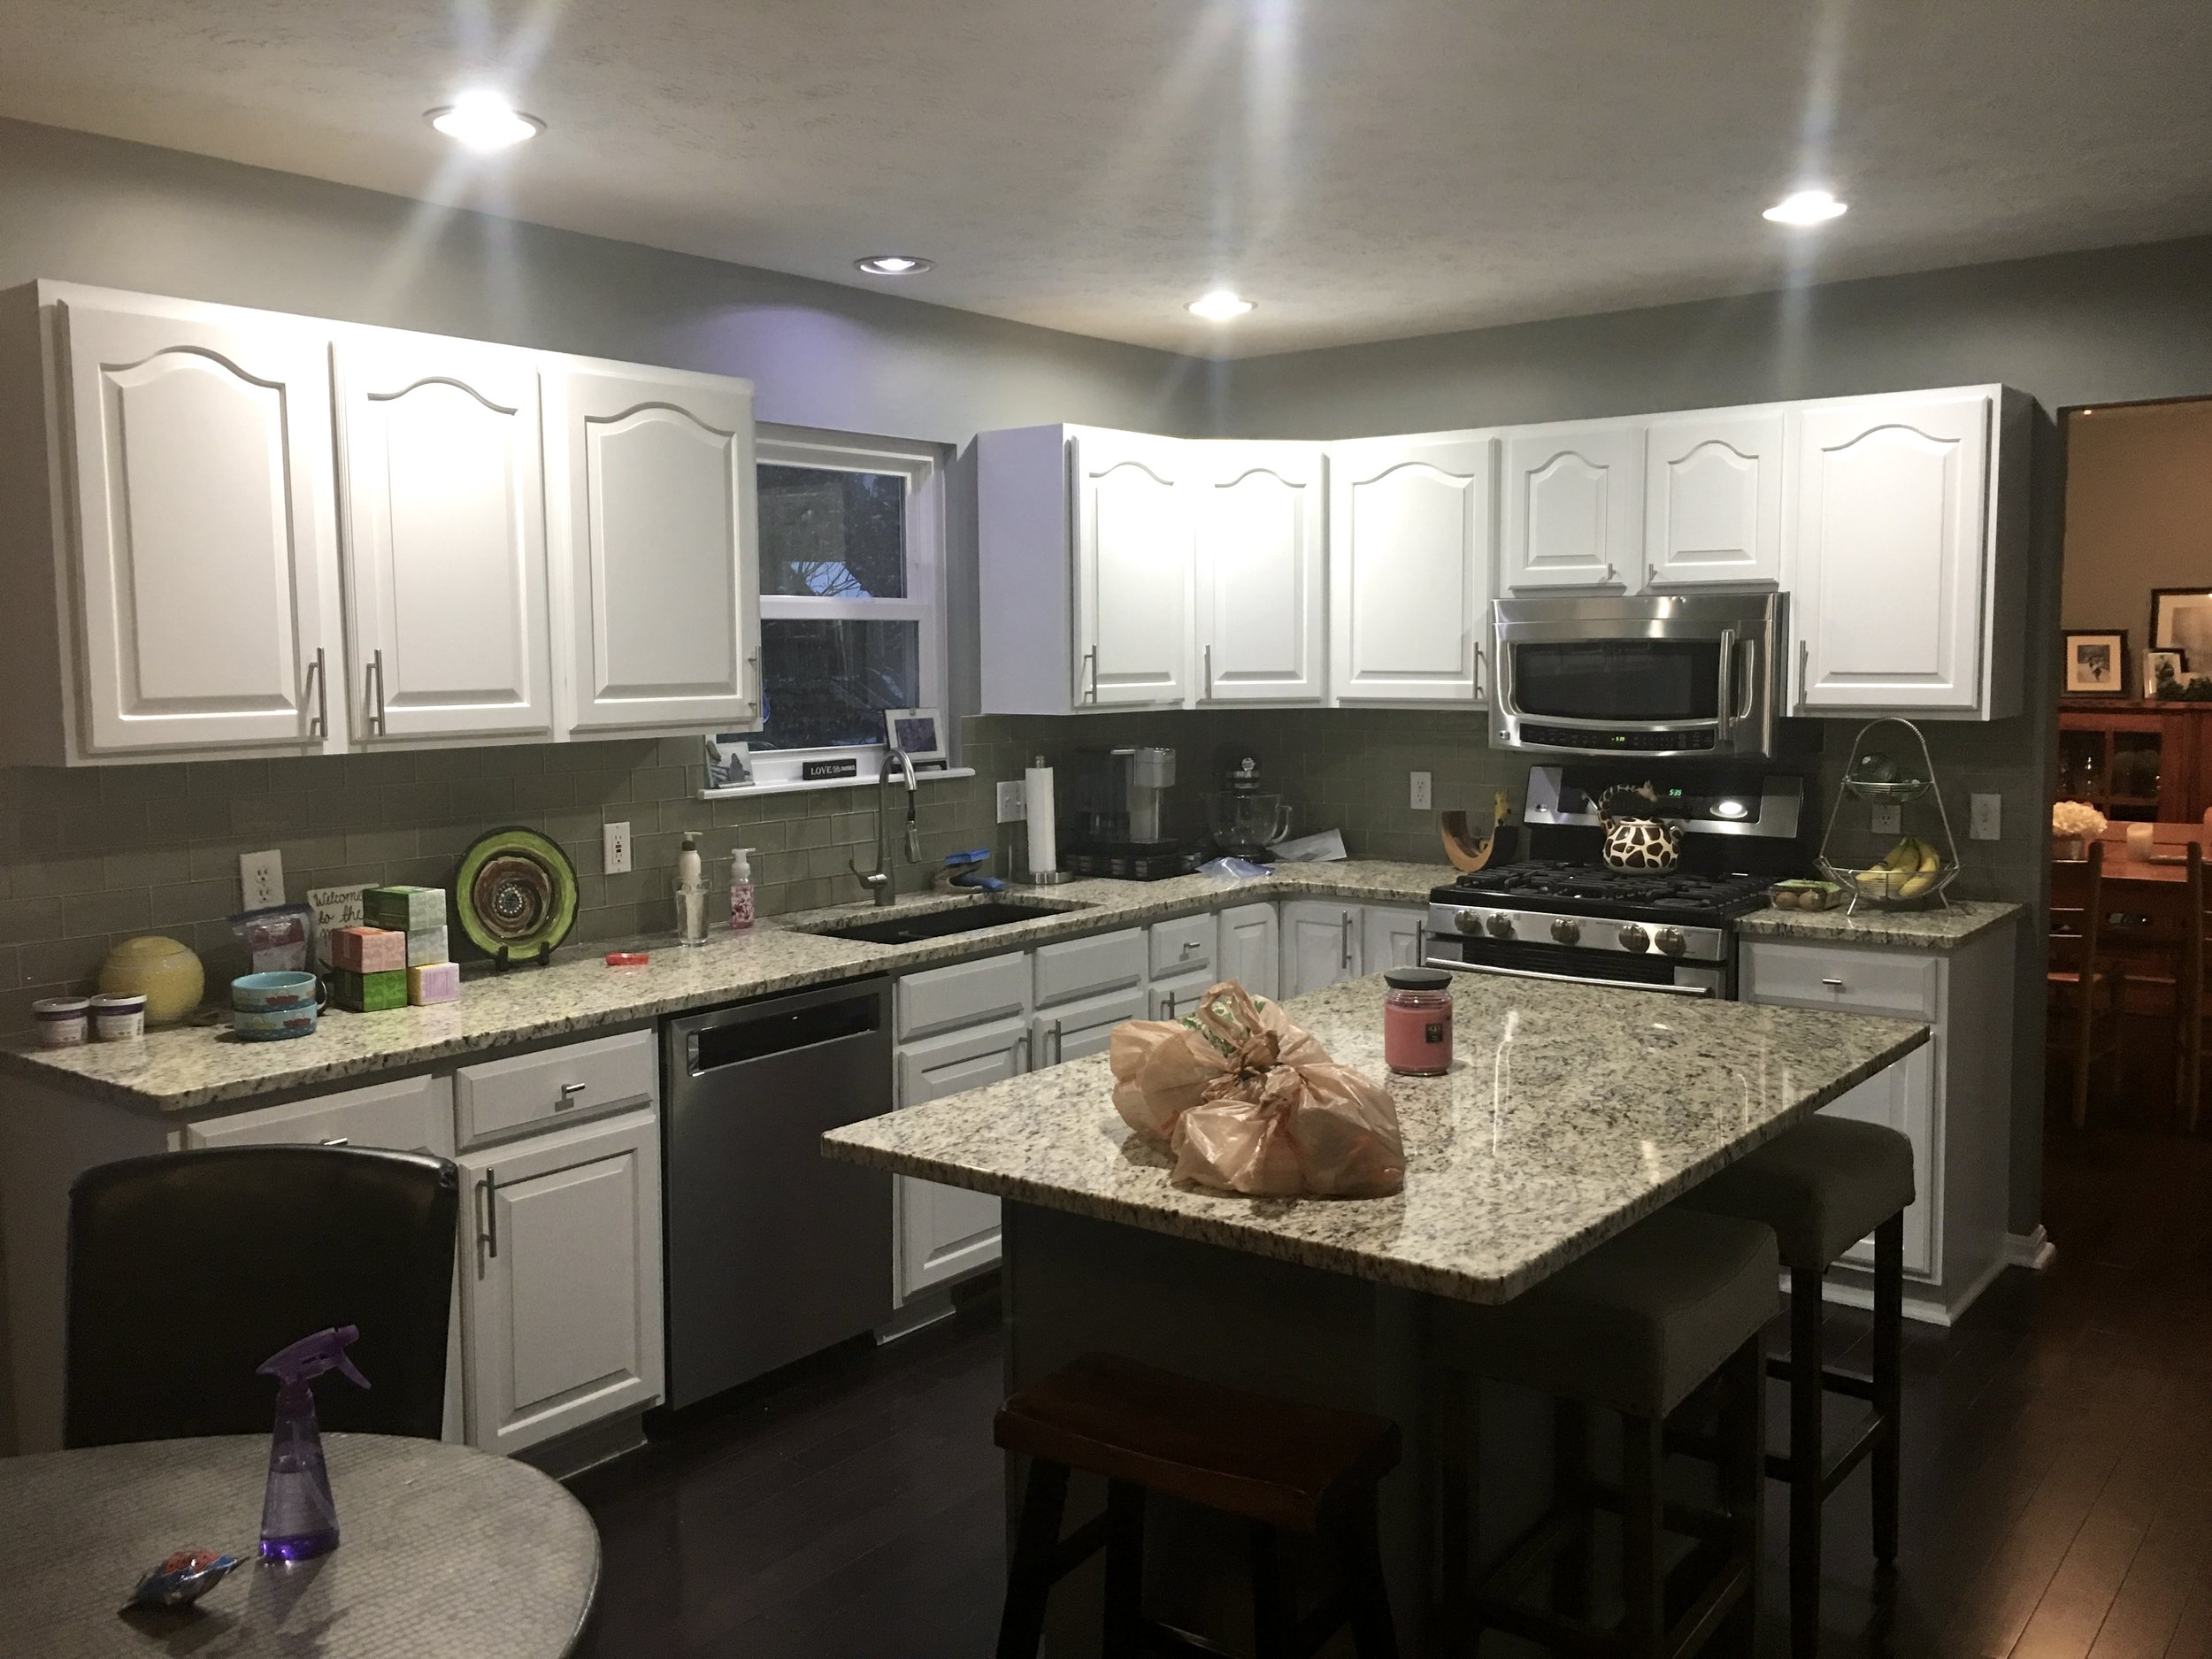
Interior painting is a crucial aspect of home improvement that can significantly enhance the aesthetic appeal and ambiance of a space. Whether you are looking to refresh a single room or renovate your entire home, choosing the right colors and finishes is essential.
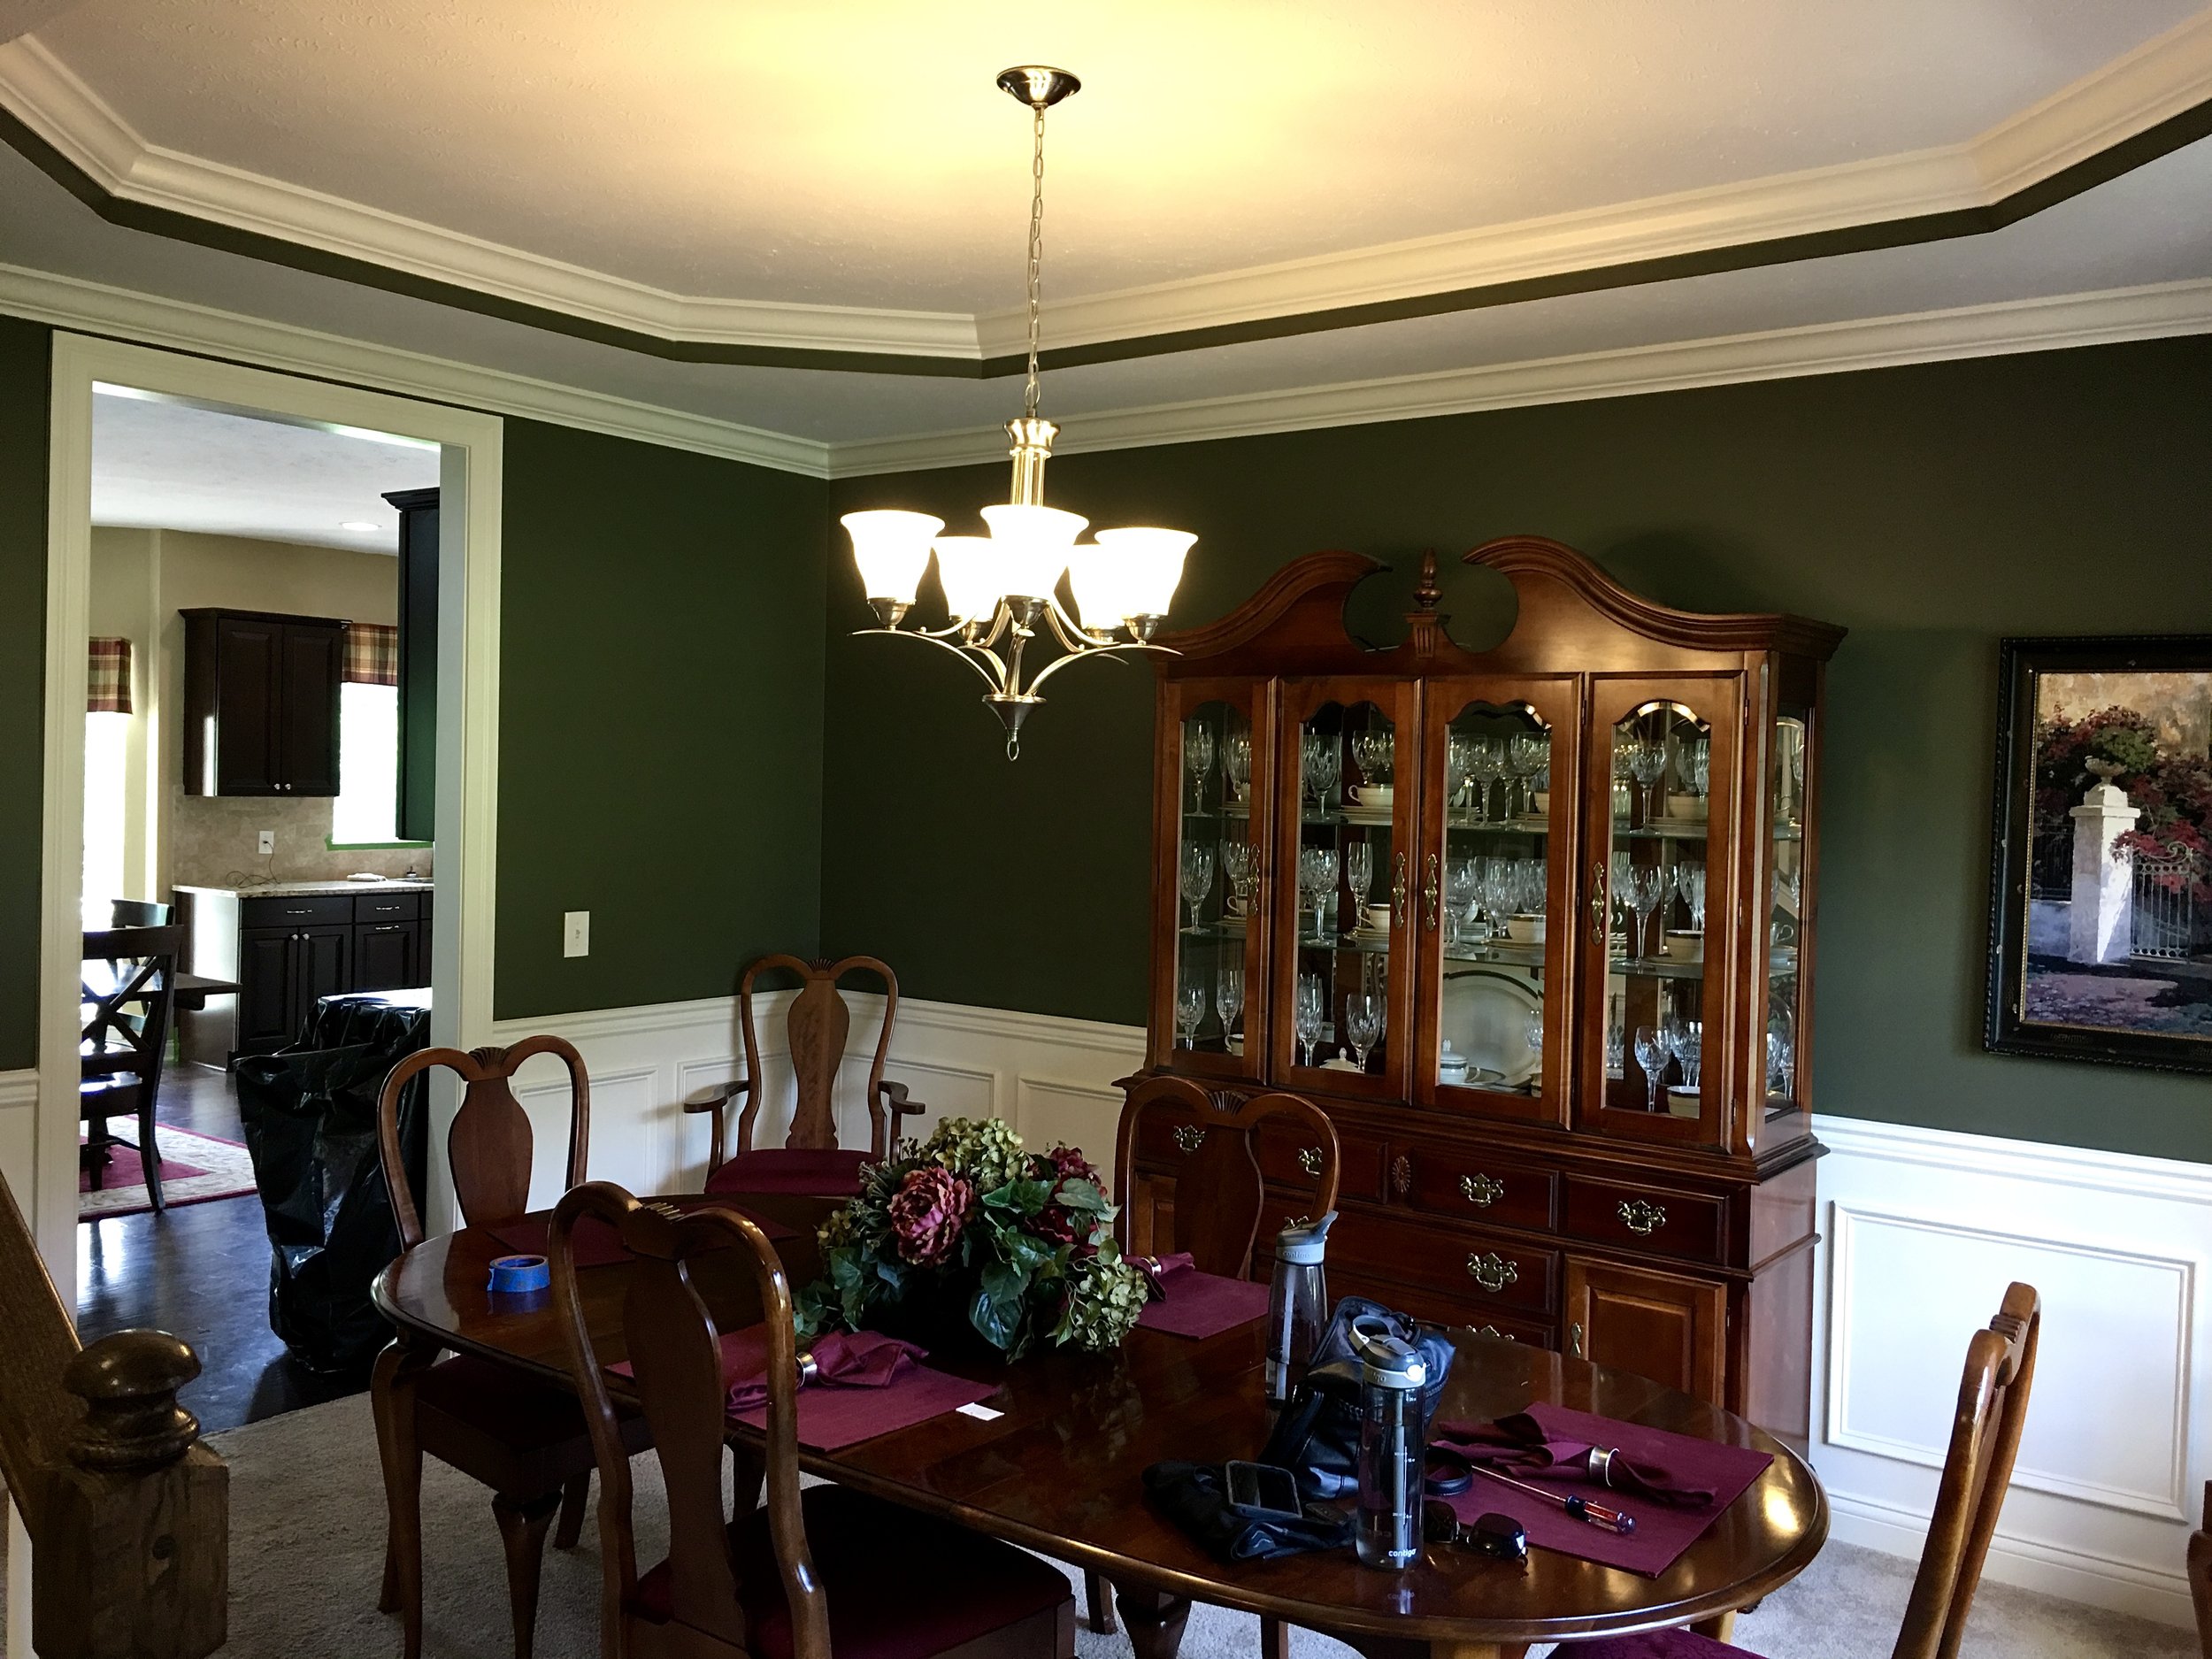
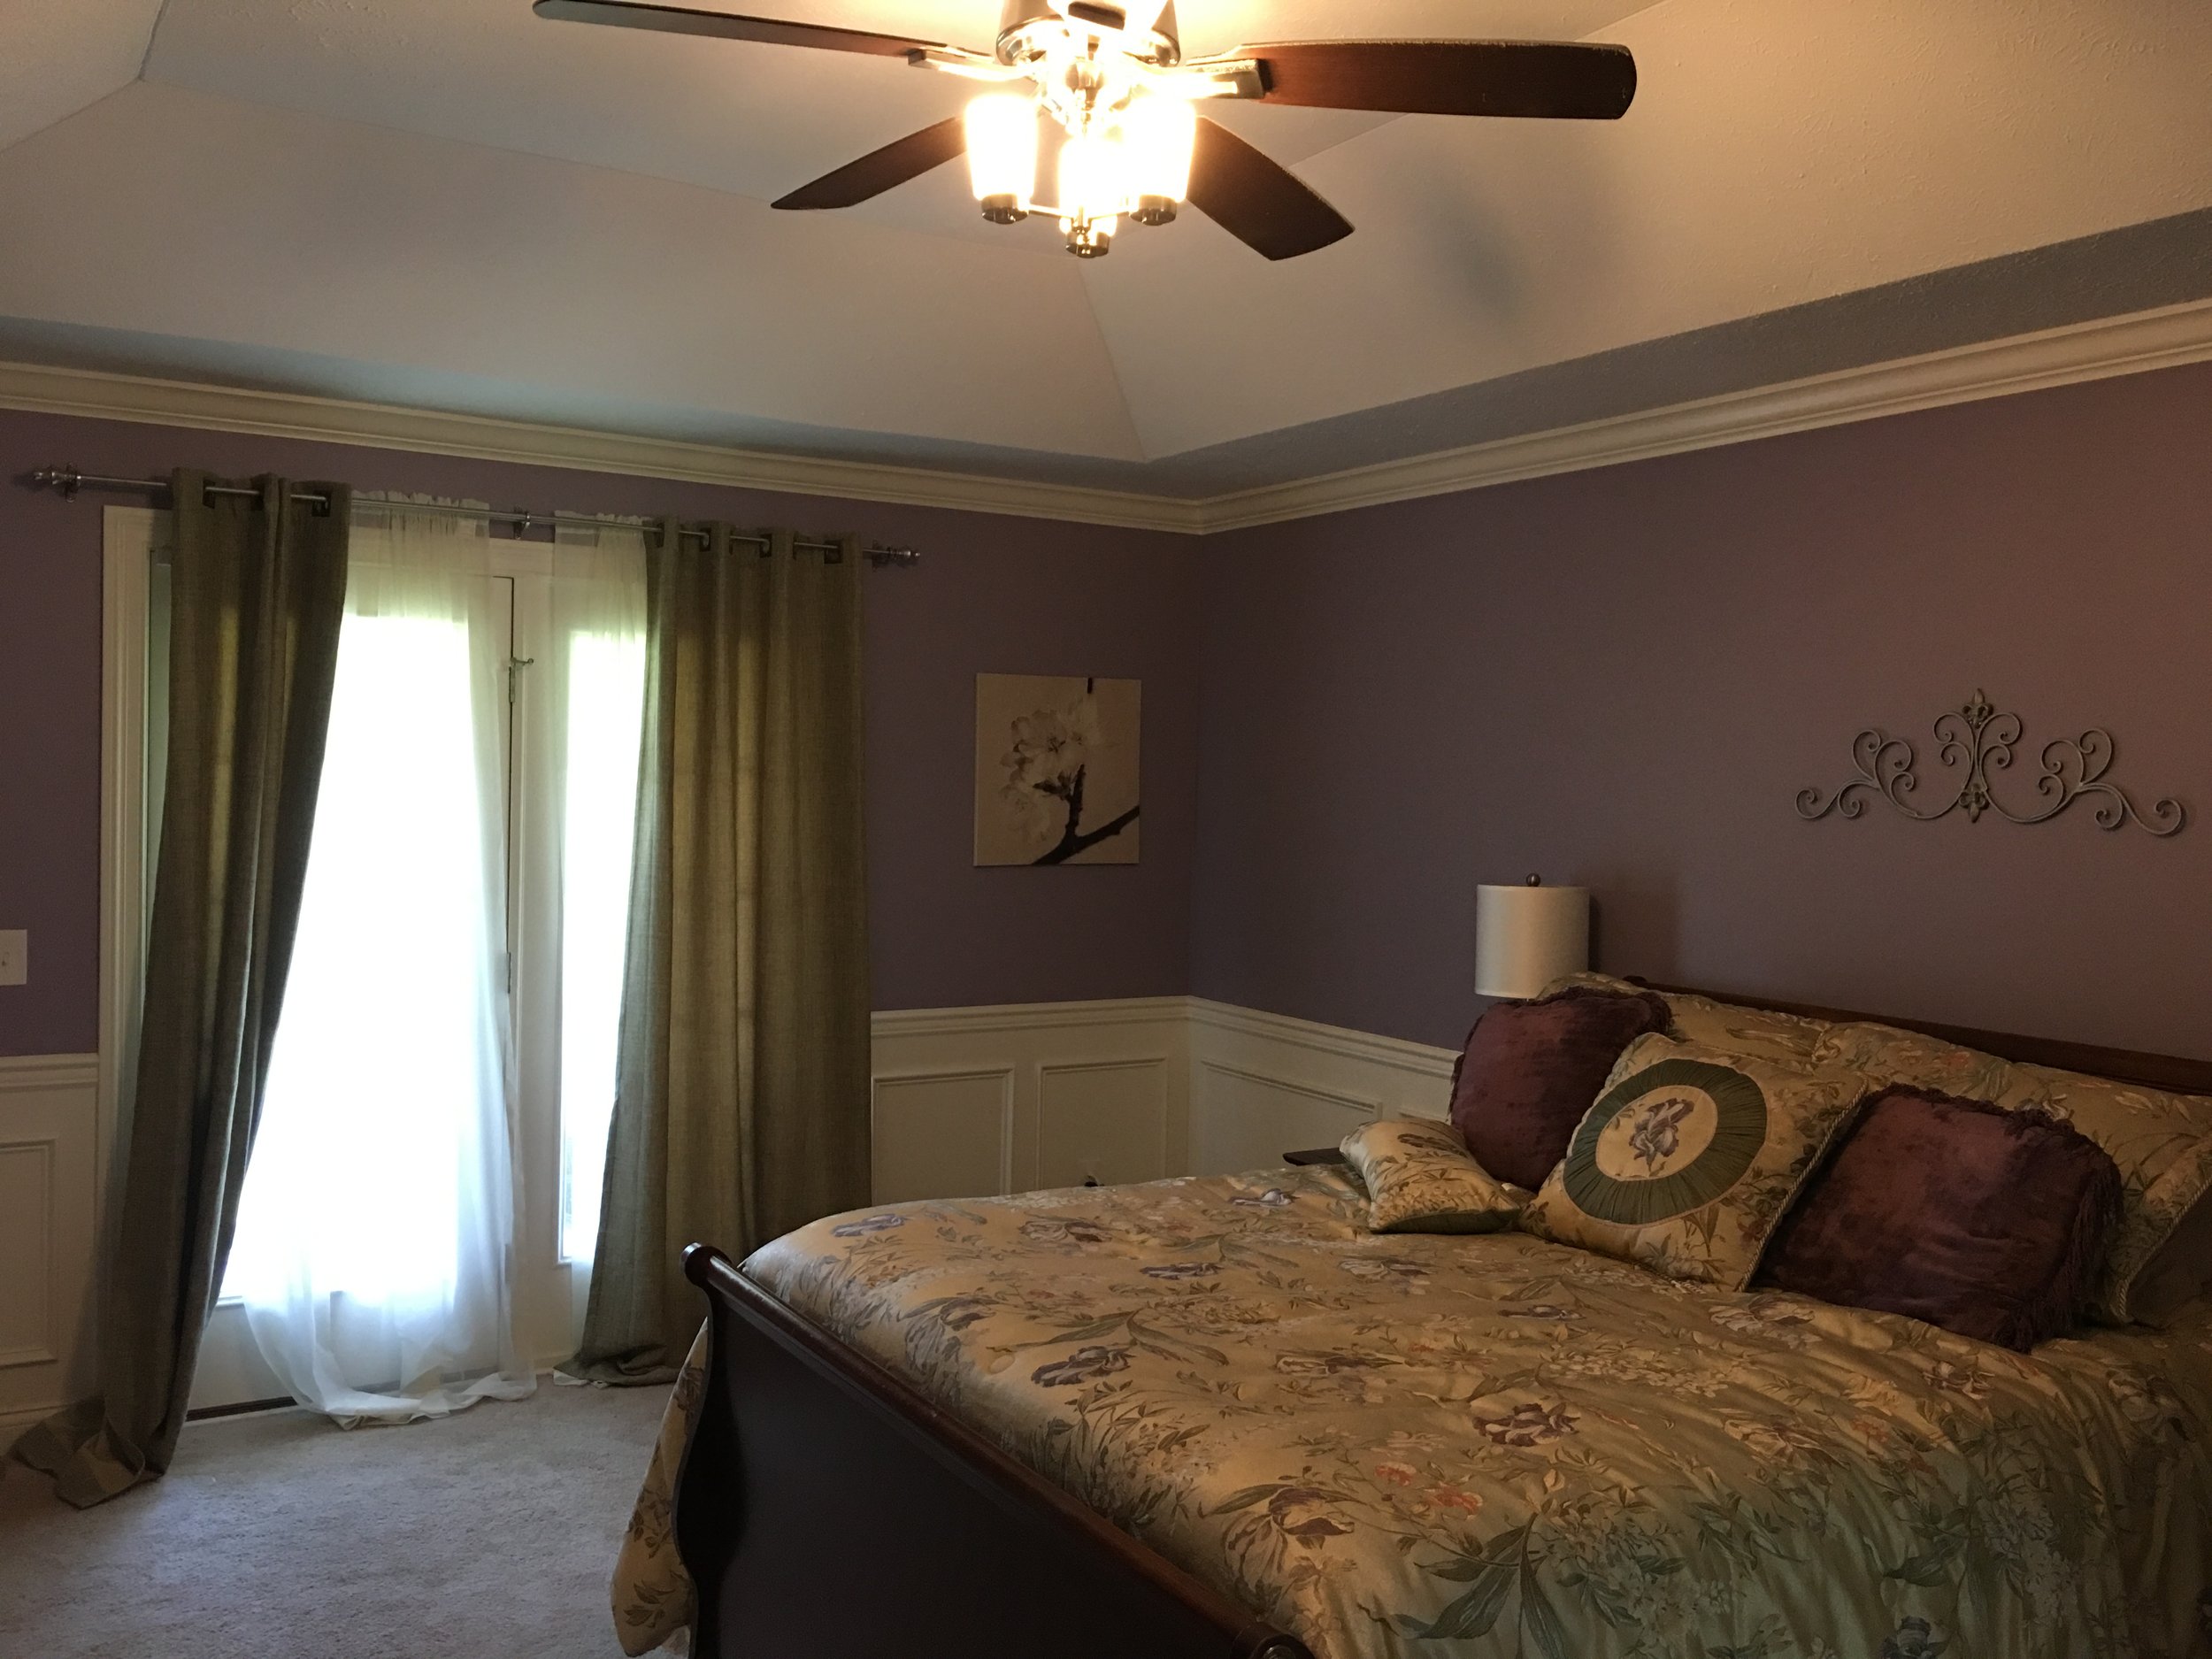
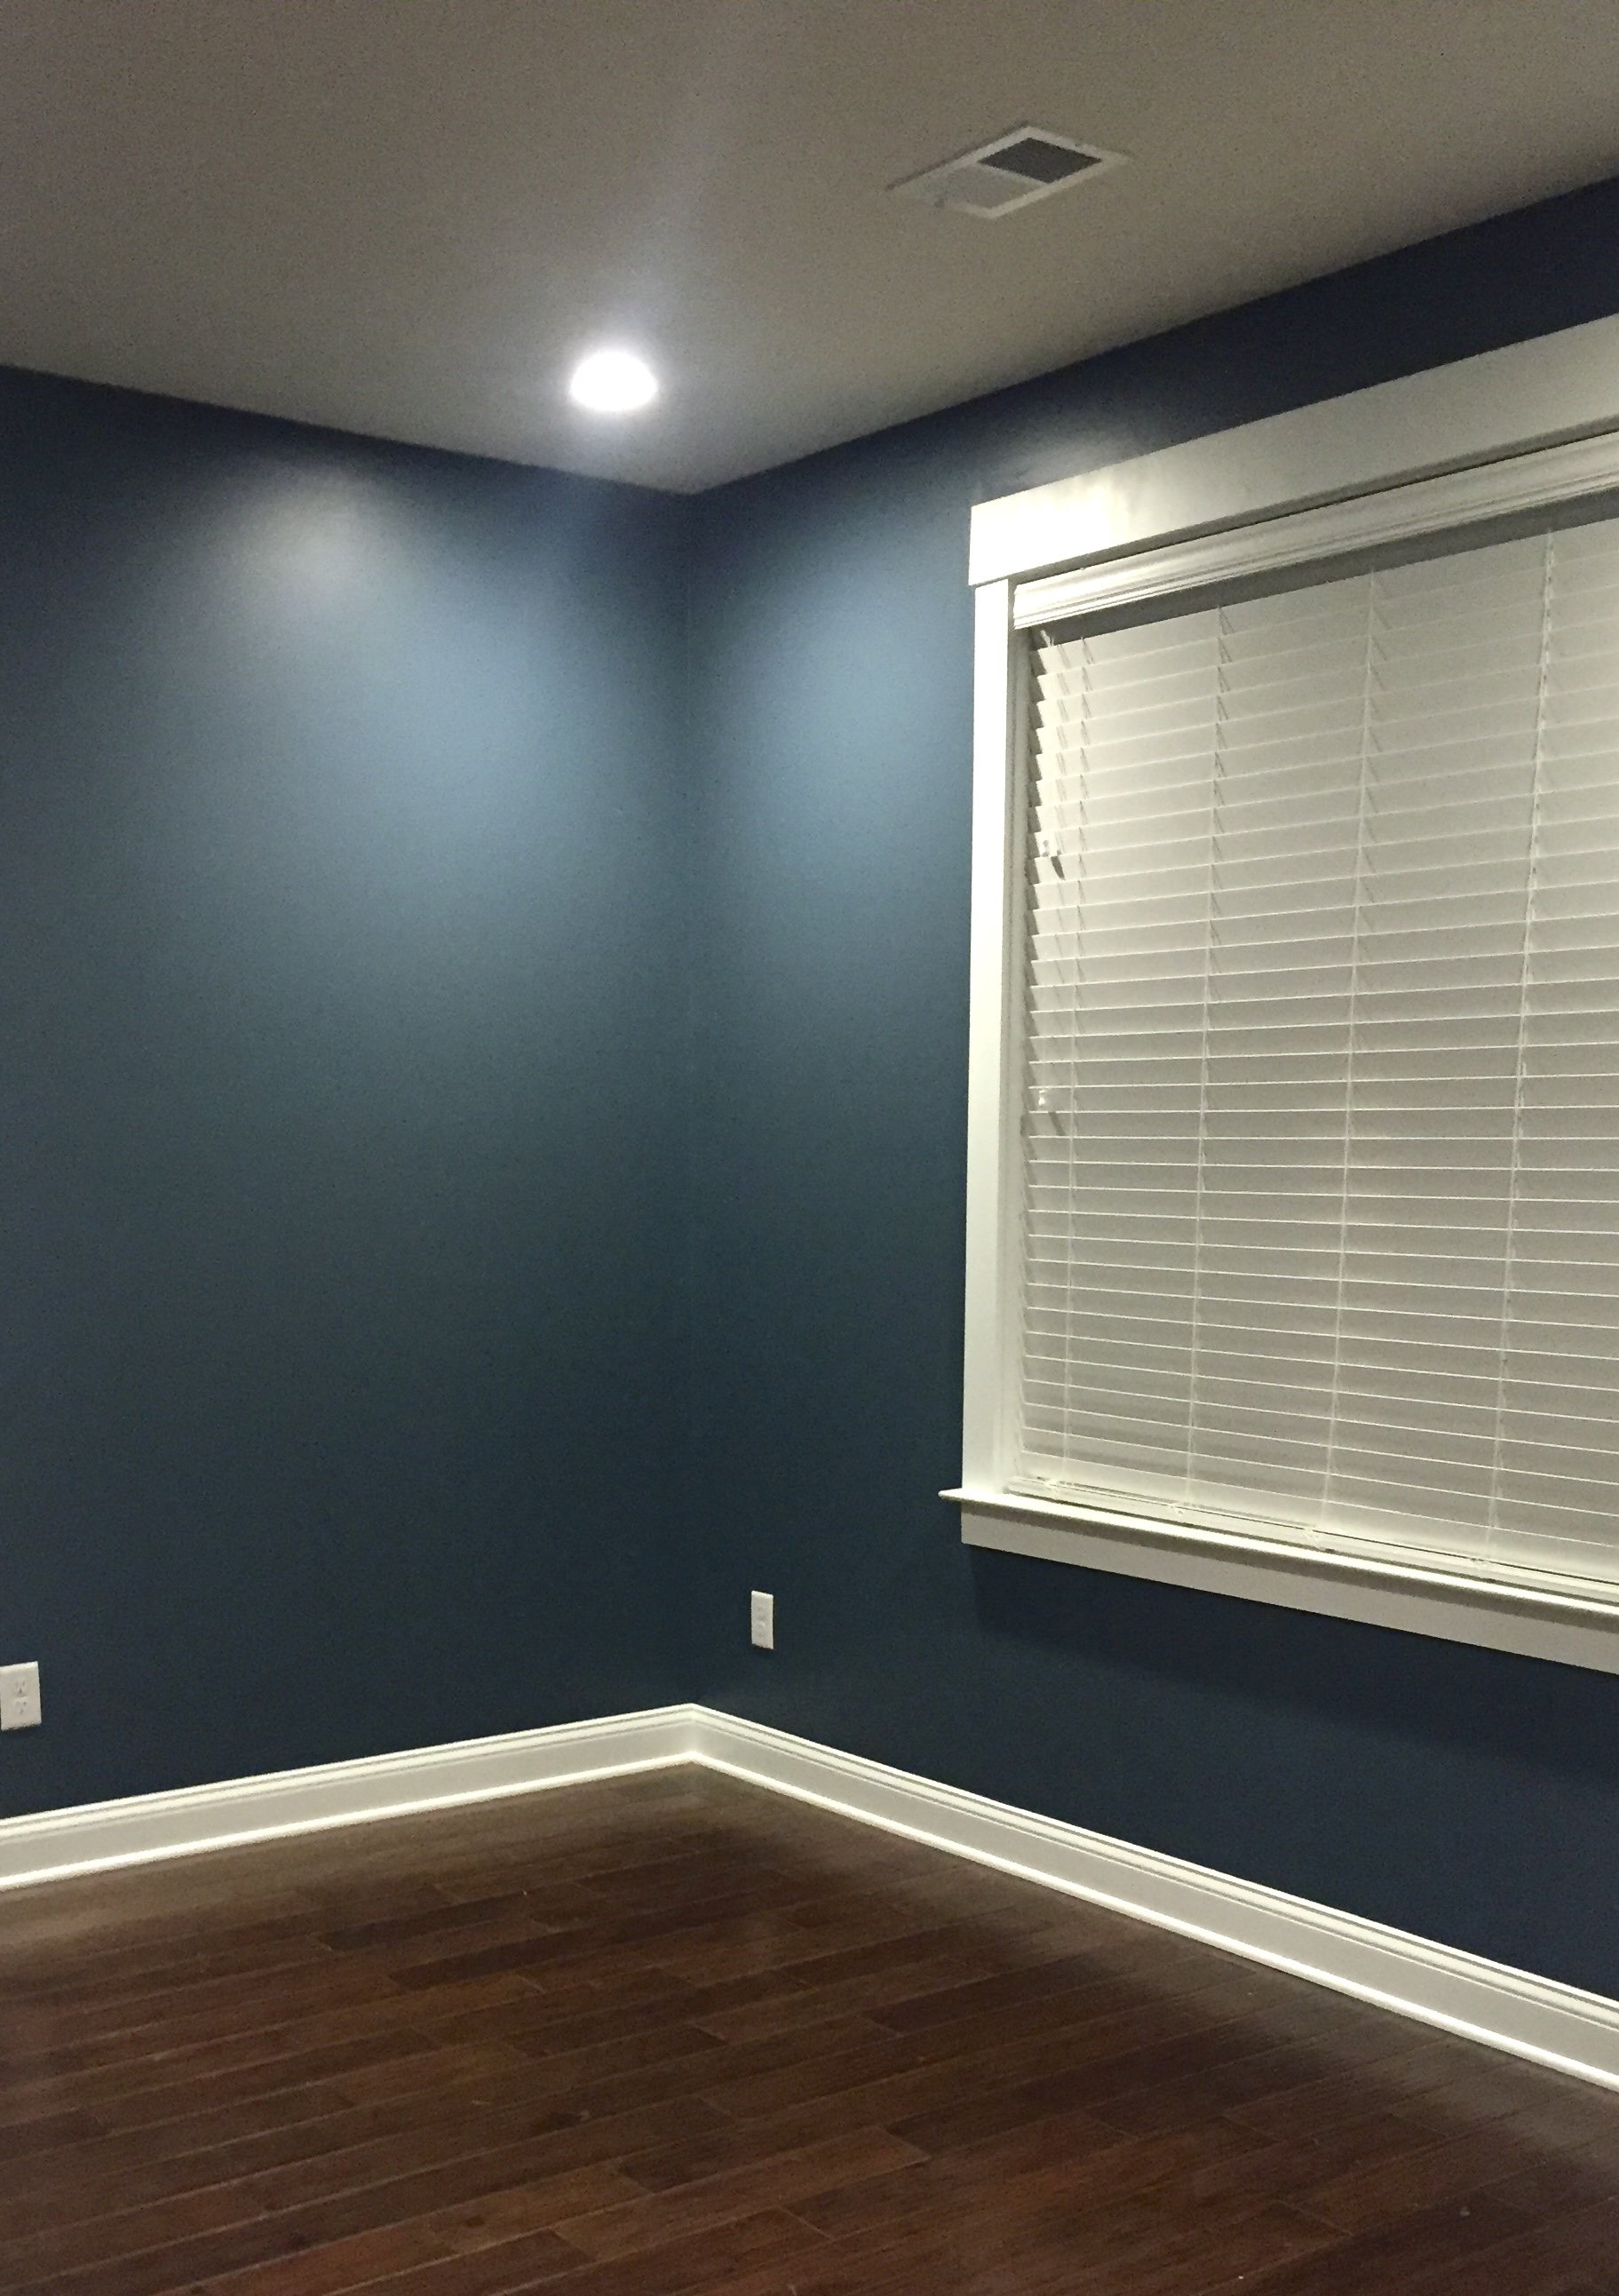
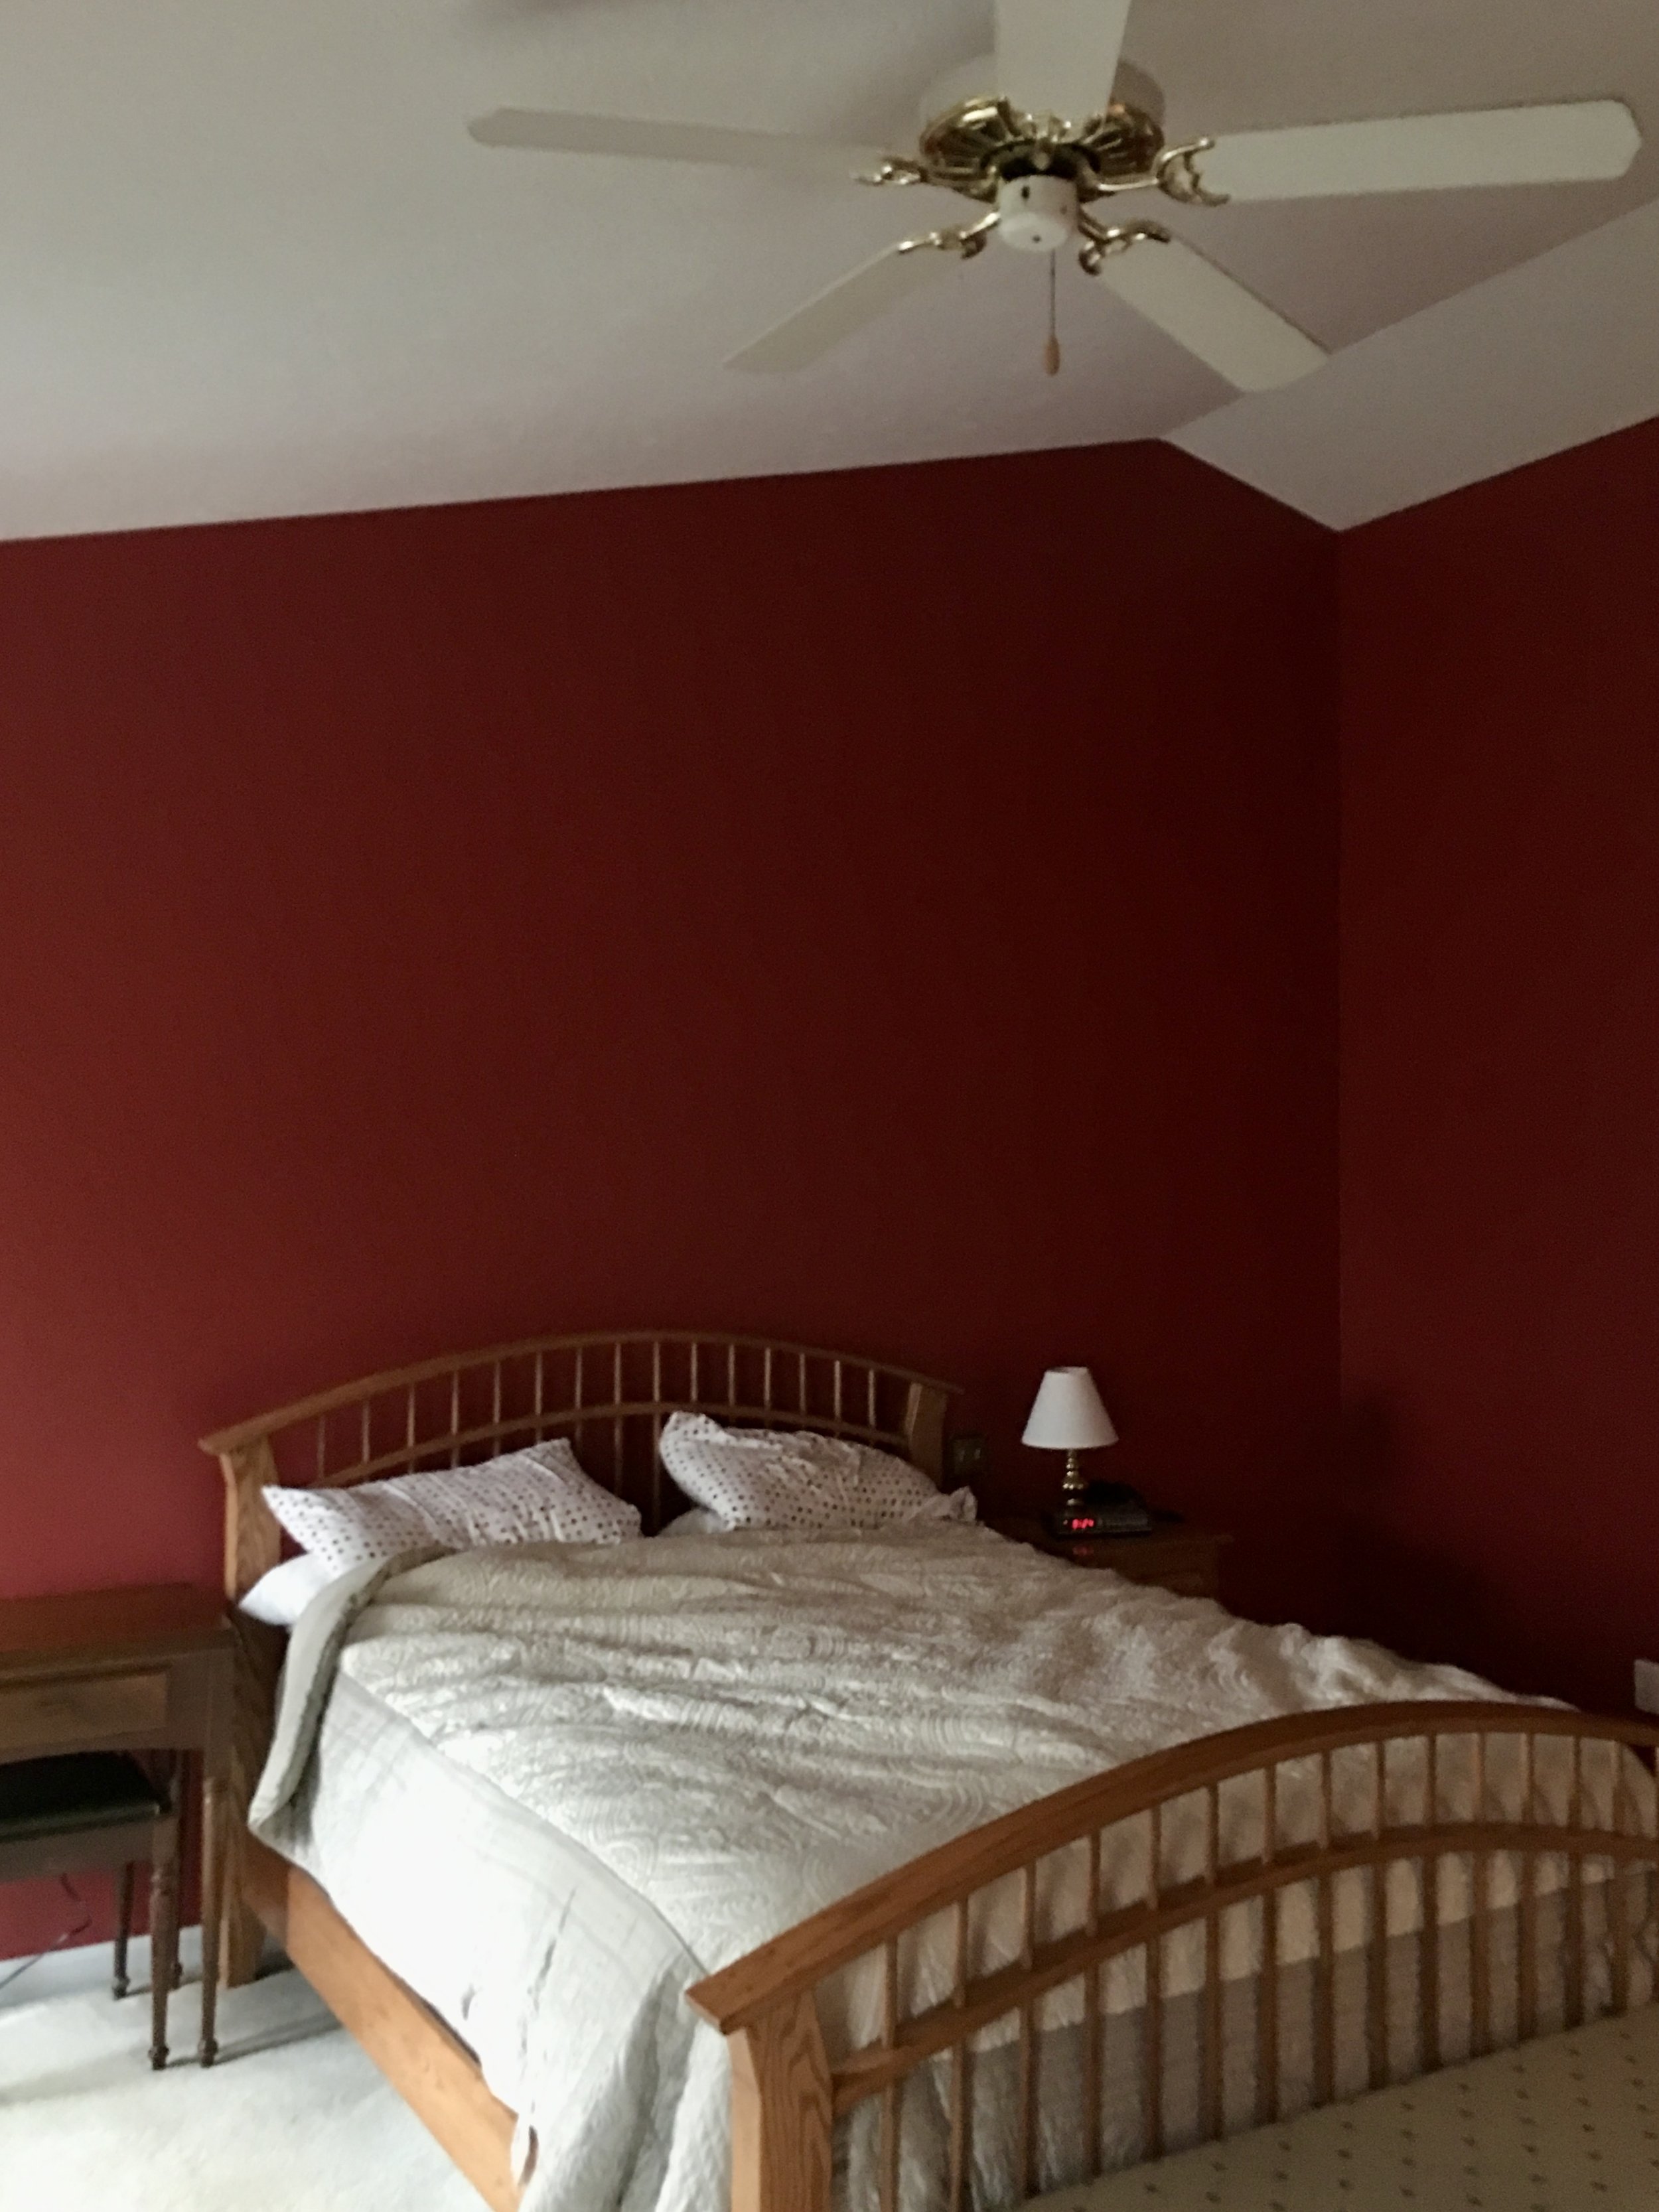
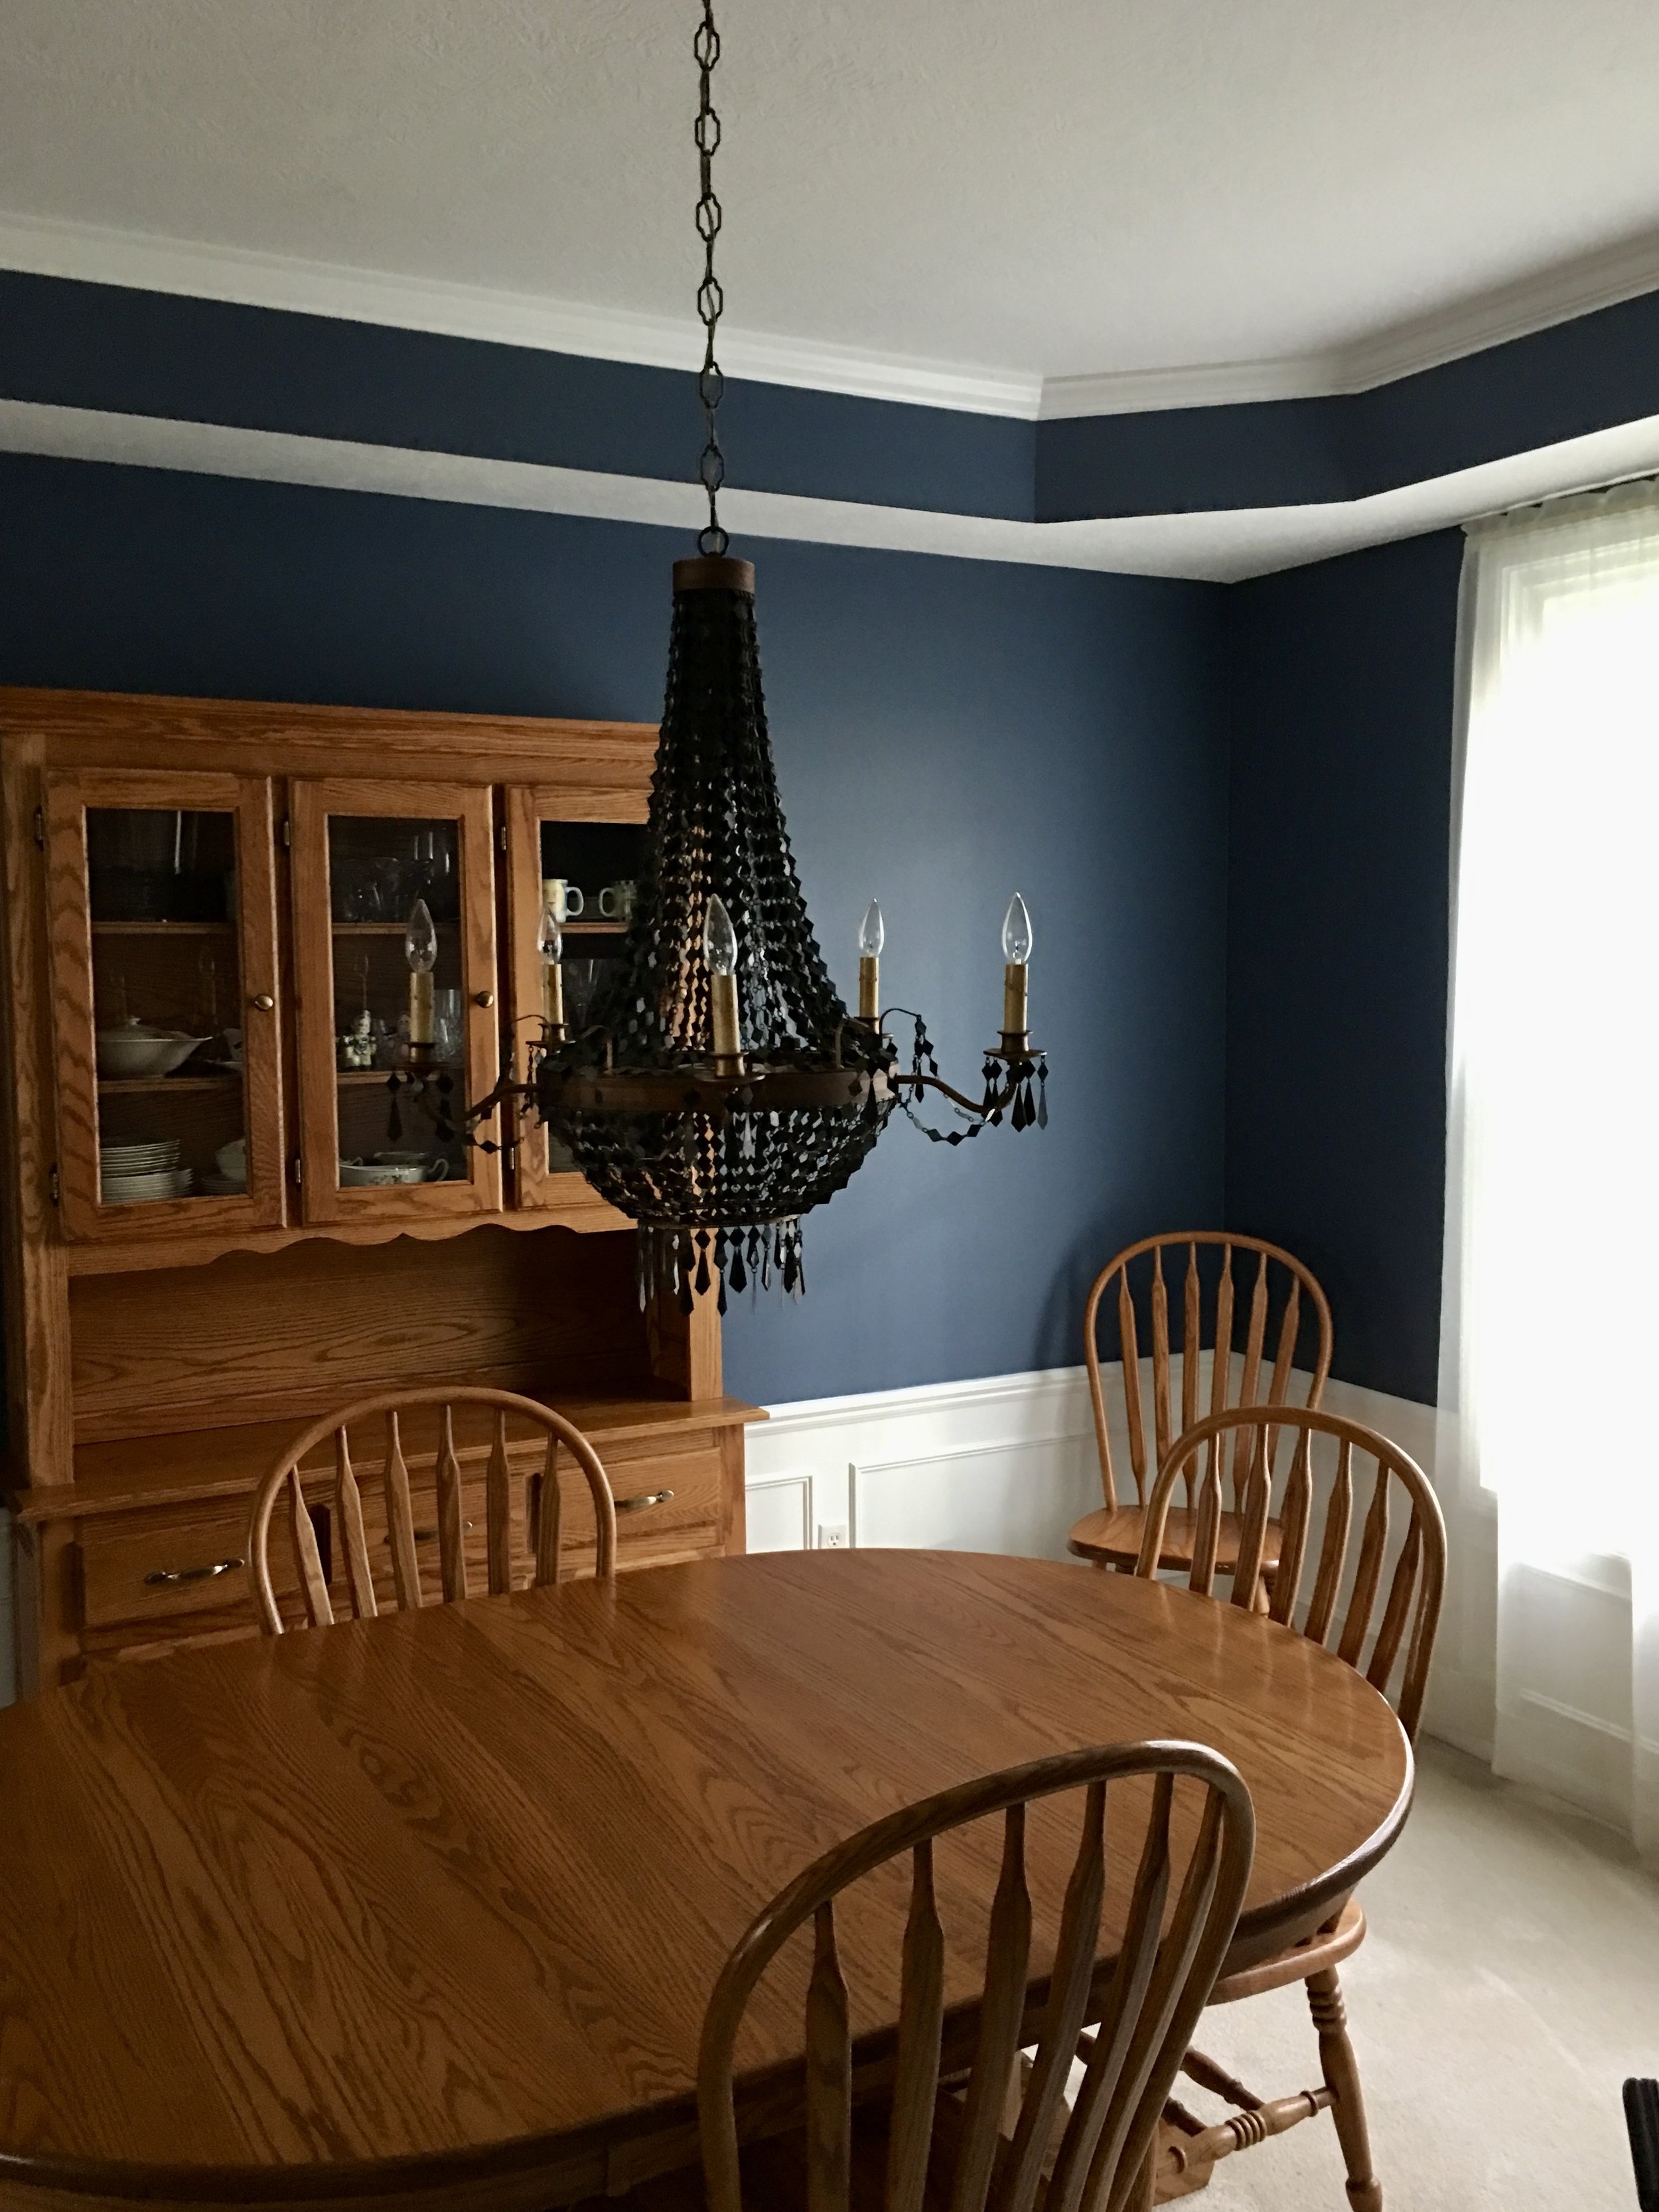
When you choose RPD, we offer free consultations to discuss which paints and products to utilize to best execute your design goals. We consider the mood you wish to create, and can help provide insight as well as past experiences to inform your choices. Lighter shades can make a room feel more open and airy, while darker tones can add warmth and coziness. Additionally, it’s important to know how finishes such as flat, matte, eggshell, satin, or semi-gloss can impact the overall look and durability of your walls.
Interior painting not only revitalizes the look of your home but can also increase property value and enhance livability. Proper planning and execution can lead to a beautiful and lasting finish that reflects your personal style.
What to expect from our Interior Painting Services
-
Comprehensive wall inspection to identify and address any necessary repairs and ensure proper prep work.
Quick sanding of walls to promote optimal adhesion, and to remove most imperfections from old paint for a smoother finish.
Primer application (when needed) to ensure proper adhesion and complete coverage.
Expert cutting and rolling with high-quality, durable paint, using professional techniques for a smooth, long-lasting finish.
-
Thorough inspection of all trim surfaces to identify necessary repairs and ensure proper prep work.
Precision sanding of trim to promote optimal adhesion and remove imperfections for a smoother, more refined finish.
Primer application (when needed) to ensure proper adhesion, coverage, and durability.
Expert application of high-quality, durable paint using the appropriate tools—brushes, rollers, or sprayers—to achieve a smooth, flawless finish.
-
Thorough inspection of ceiling surfaces to identify any necessary repairs and ensure proper prep work.
Primer application (if needed) to ensure optimal adhesion and full coverage.
Expert cutting and rolling of high-quality, durable paint using professional techniques to achieve a smooth, even finish.
-
Inspect the wallpaper to determine the type (e.g., vinyl, paper-backed, or fabric) for the best removal method.
Use specialized tools to efficiently remove all wallpaper and adhesive, ensuring a clean, smooth surface.
Thorough sanding of walls to remove any remnants of paper and prepare for the next steps.
Expert patching, filling, and sanding of any areas in need of repair to ensure a flawless finish.
Prime walls with a high-quality primer to prepare for painting or finishing, ensuring optimal adhesion and durability.
-
Cut out any damaged drywall to create a clean, square edge around the affected area.
Prepare the area by removing any loose debris, dust, or insulation from the hole.
Apply a patch: For small holes, use a pre-made patch; for larger holes, use a piece of new drywall cut to fit the space.
Apply joint compound over the patch, and smooth it out evenly across the surface and feather the edges.
Repeat the process: Apply additional layers of joint compound, sanding between coats, until the surface is smooth and level with the surrounding wall.
Prime the repaired area to seal the compound and create an even surface for painting.
Finish by painting to match the surrounding wall and restore a seamless appearance.
-
Thorough cleaning of all cabinet surfaces to remove grease, dirt, and residue for proper paint adhesion.
Remove hardware (handles, knobs, hinges) and doors/drawers to ensure a clean, professional finish. If new hardware is desired, we will fill and sand the old hardware holes, then drill holes for new hardware installation.
Light sanding of all surfaces to create a smooth base and improve paint adherence.
Fill any imperfections such as cracks, dents, or holes with wood filler, then sand smooth.
Apply a high-quality primer to ensure proper adhesion and long-lasting coverage.
Apply multiple coats of premium paint using the appropriate technique (spraying, brushing, or rolling) for a smooth, even finish.
Reassemble cabinets once paint has fully cured, reattaching hardware and doors/drawers.
-
Clean the surface thoroughly to remove dust, dirt, grease, and any existing wax or oils, ensuring proper paint adhesion.
Sand the stained wood to remove the old finish and smooth out any imperfections, using a coarse-grit sandpaper followed by a finer grit for a smooth surface.
Remove sanding dust by wiping the surface with a tack cloth or damp rag to ensure a clean, residue-free area for painting.
Apply a high-quality wood primer to seal the wood, enhance adhesion, and block any stains or tannins that may bleed through the paint.
Allow the primer to dry fully, ensuring a smooth and even base for the paint.
Apply paint using a brush, roller, or sprayer, ensuring even coverage and working in thin layers for a smooth finish.

Contact us for more information!
Hours
Monday–Friday
8:00am - 6:00pm
Saturday & Sunday
9:00am - 4:00pm
Phone
(330) 410 - 2790
Email
info@RPDoh.com
Follow us for more content and info

